Making Nose Strips for People Sewing Masks.
The pandemic arrived in March 2020 and I wanted to do something to help. I saw lots of folks were sewing masks locally for hospitals and first responders and they were being made either without nose strips to help shape and seal the mask where it fits over a persons nose or adapting household items that might not be stiff enough to keep the shape like twist ties or pipe cleaners.
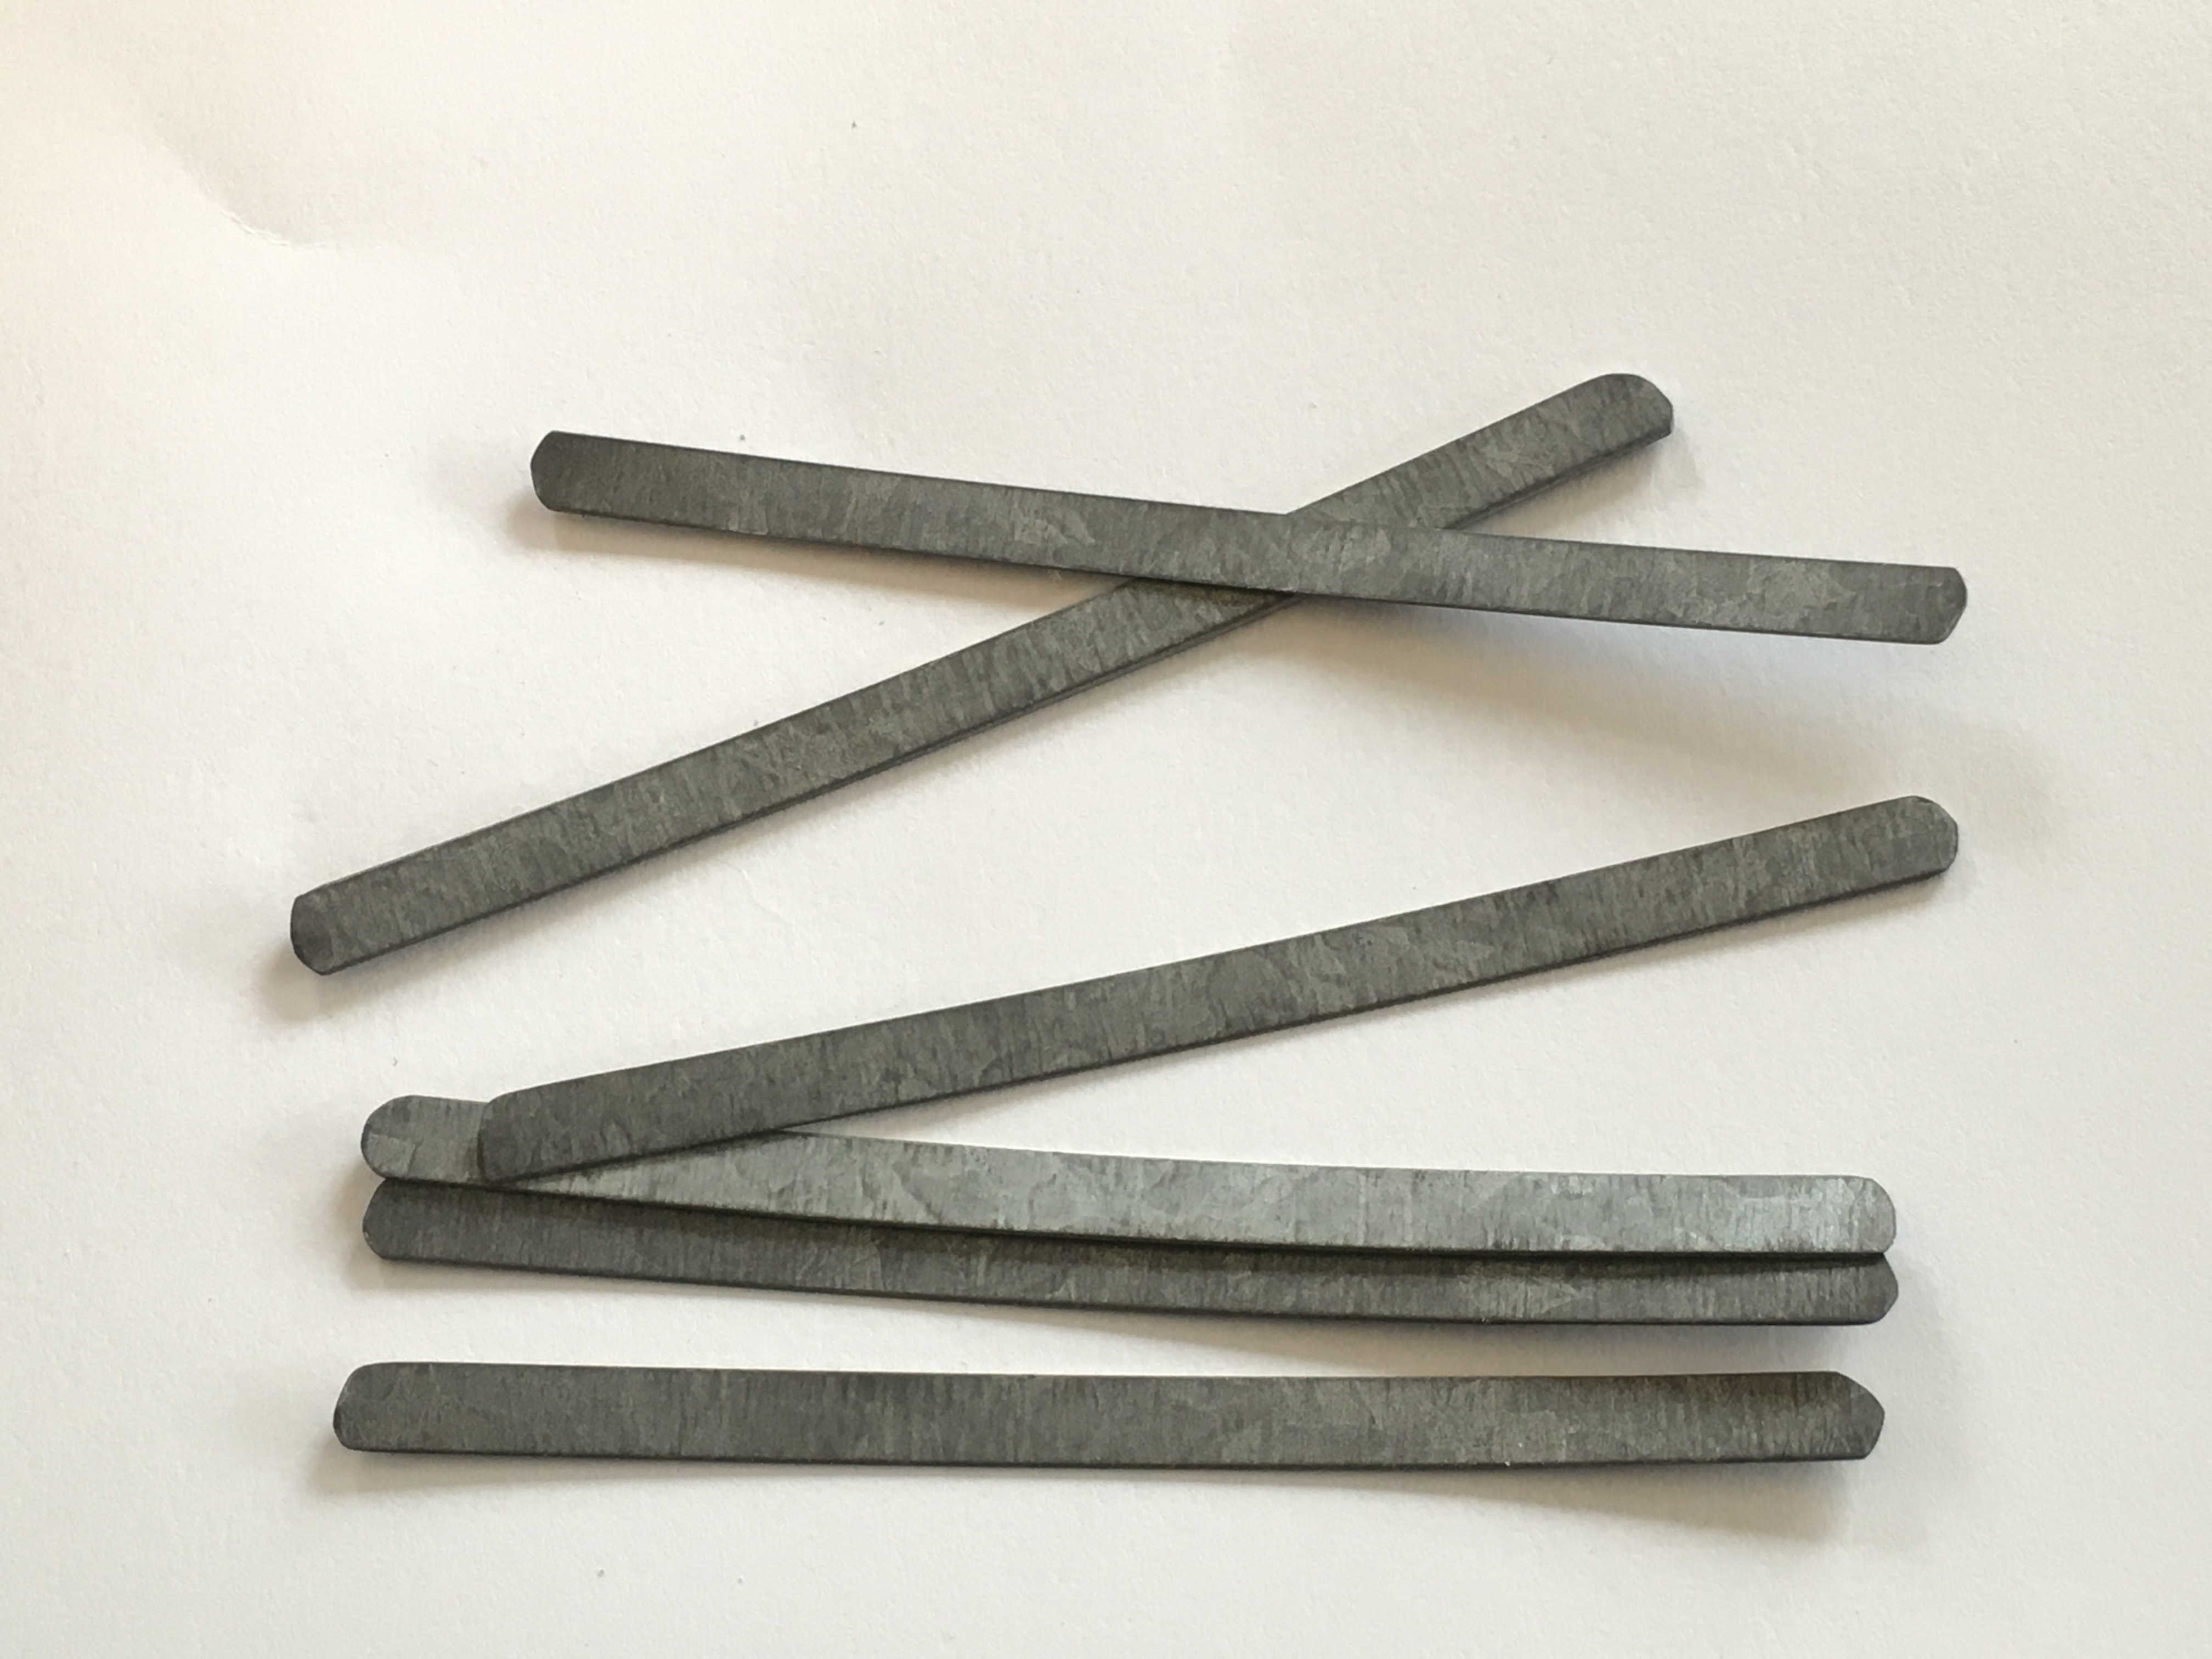
I decided I could help and started making and giving away strips like these:
Between March and September 2020 I made and gave away over 29,000 nose strips.
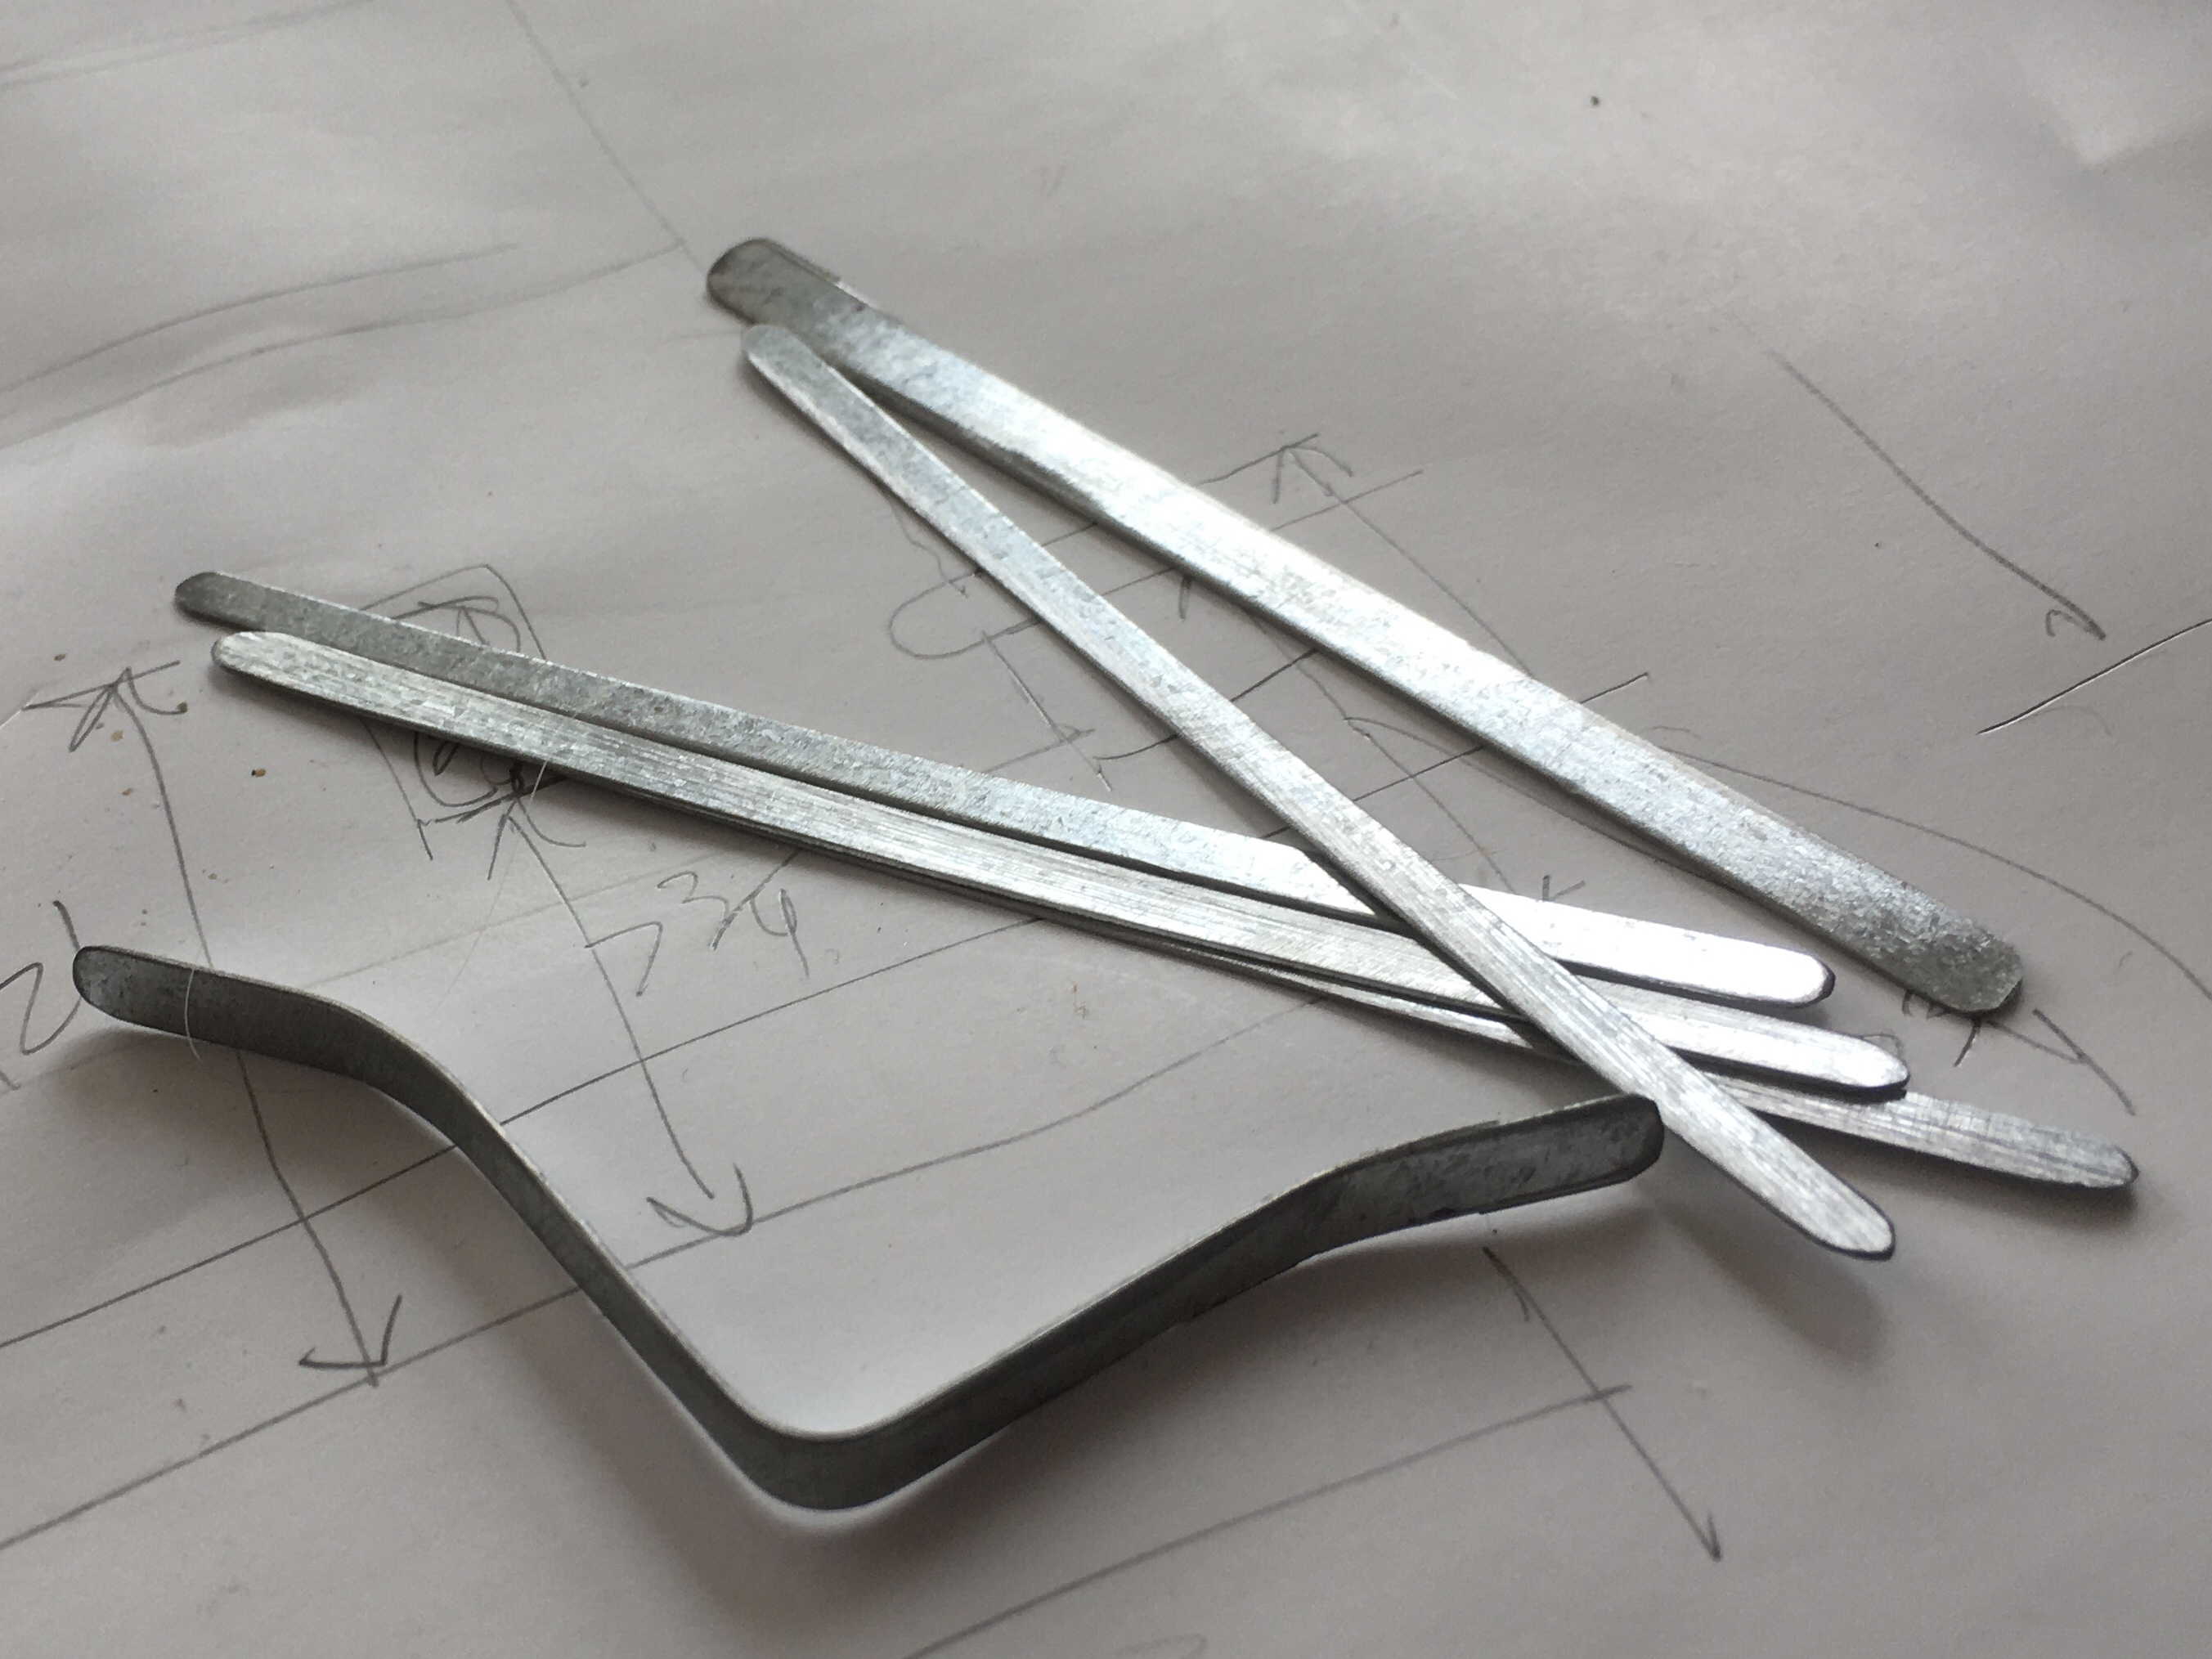
The strips are modeled on the strip I saw on an N95 mask. It was made out of a soft easily bendable aluminum allow. About 3.5” long and 3/16” wide.
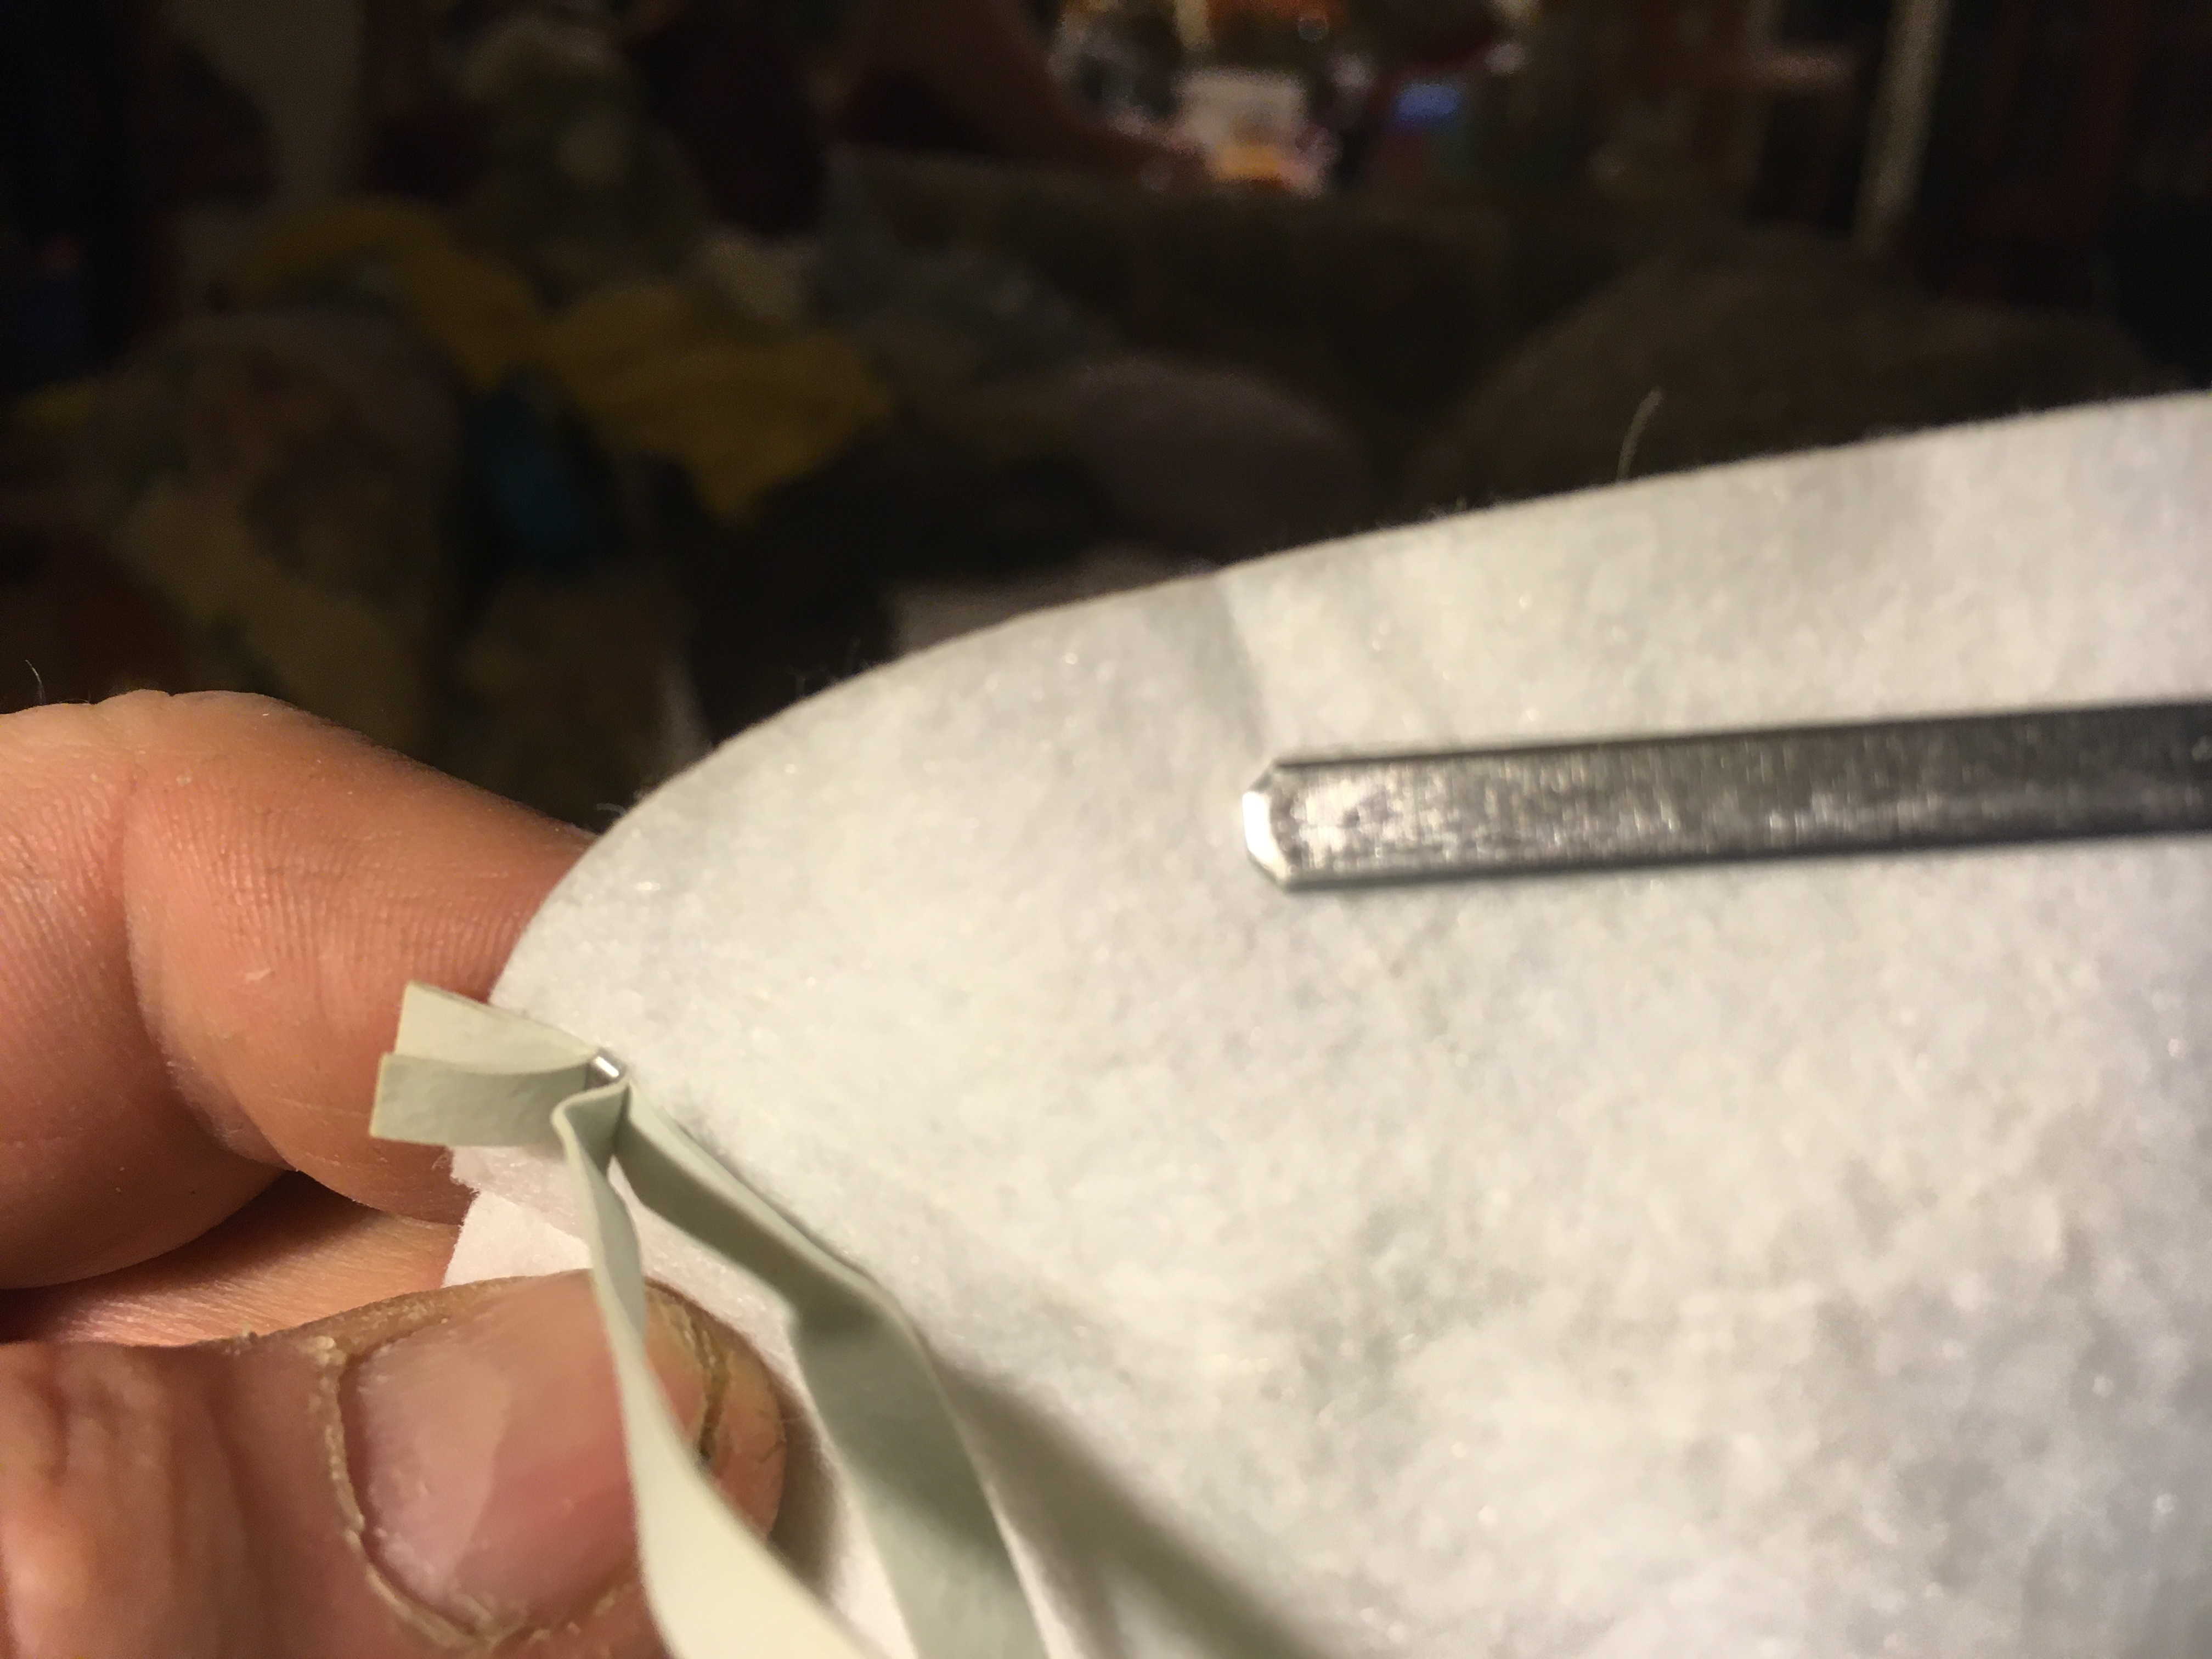
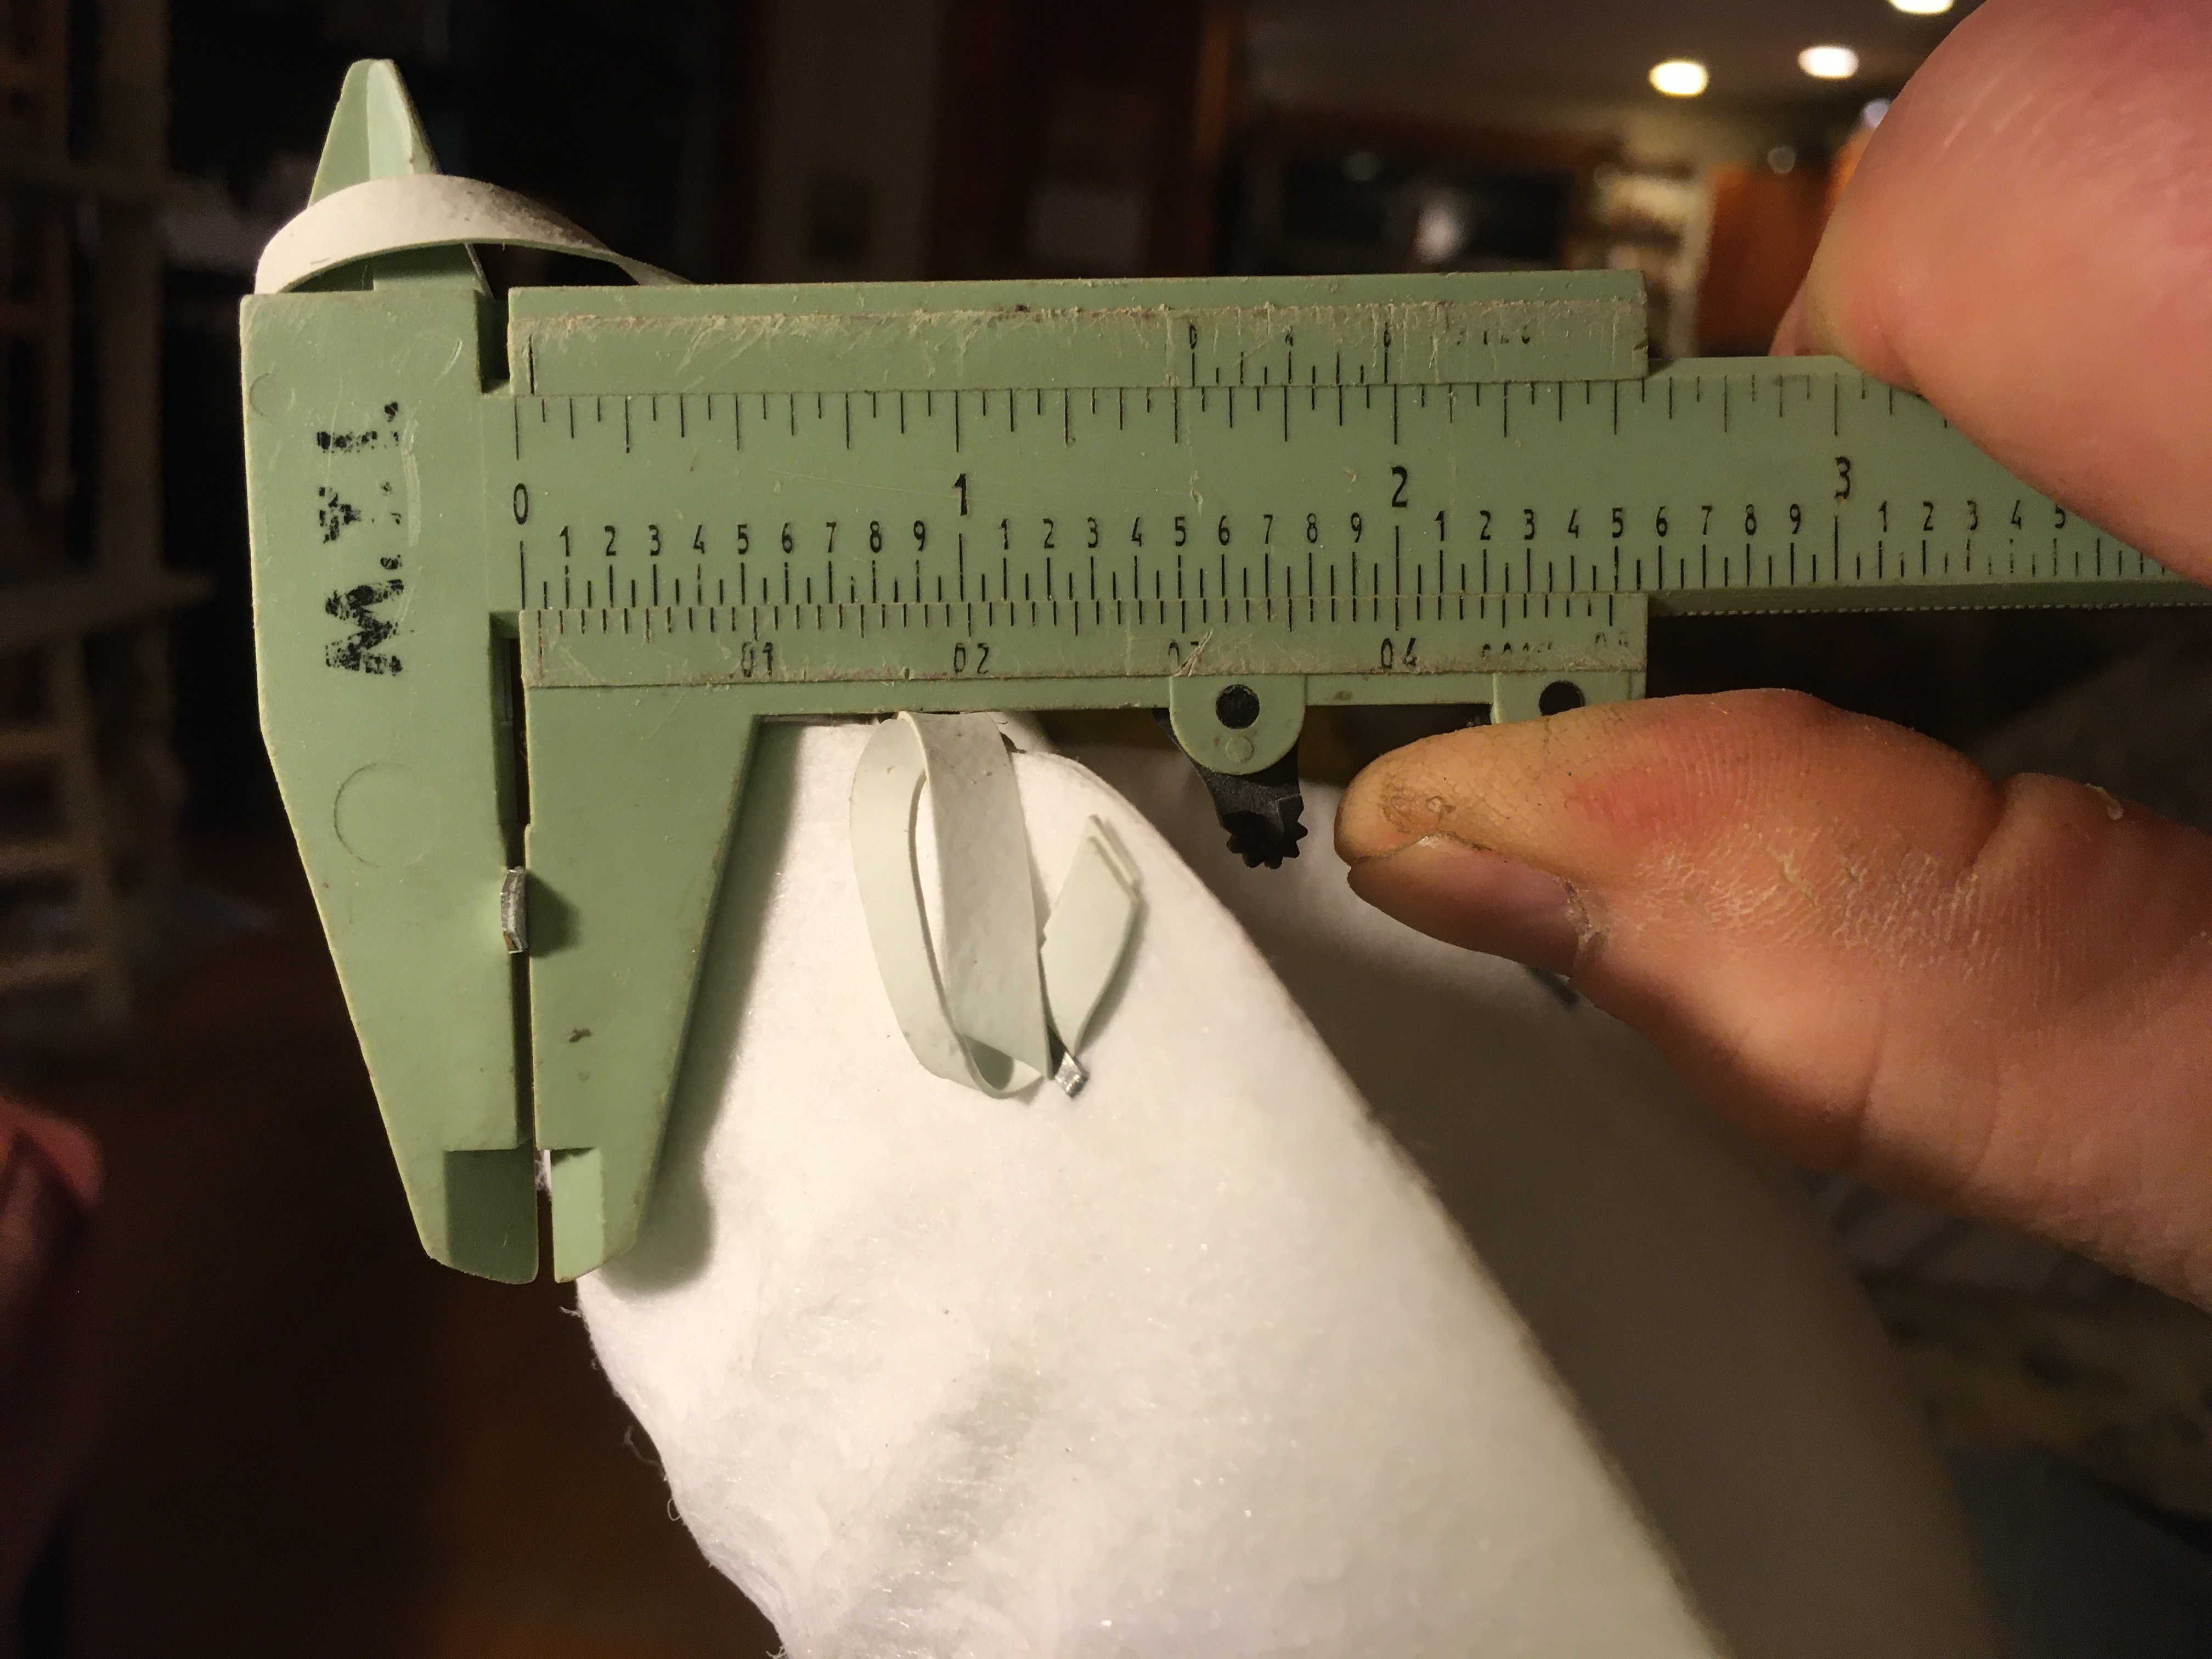
I meadsured it at about 0.045” thick.
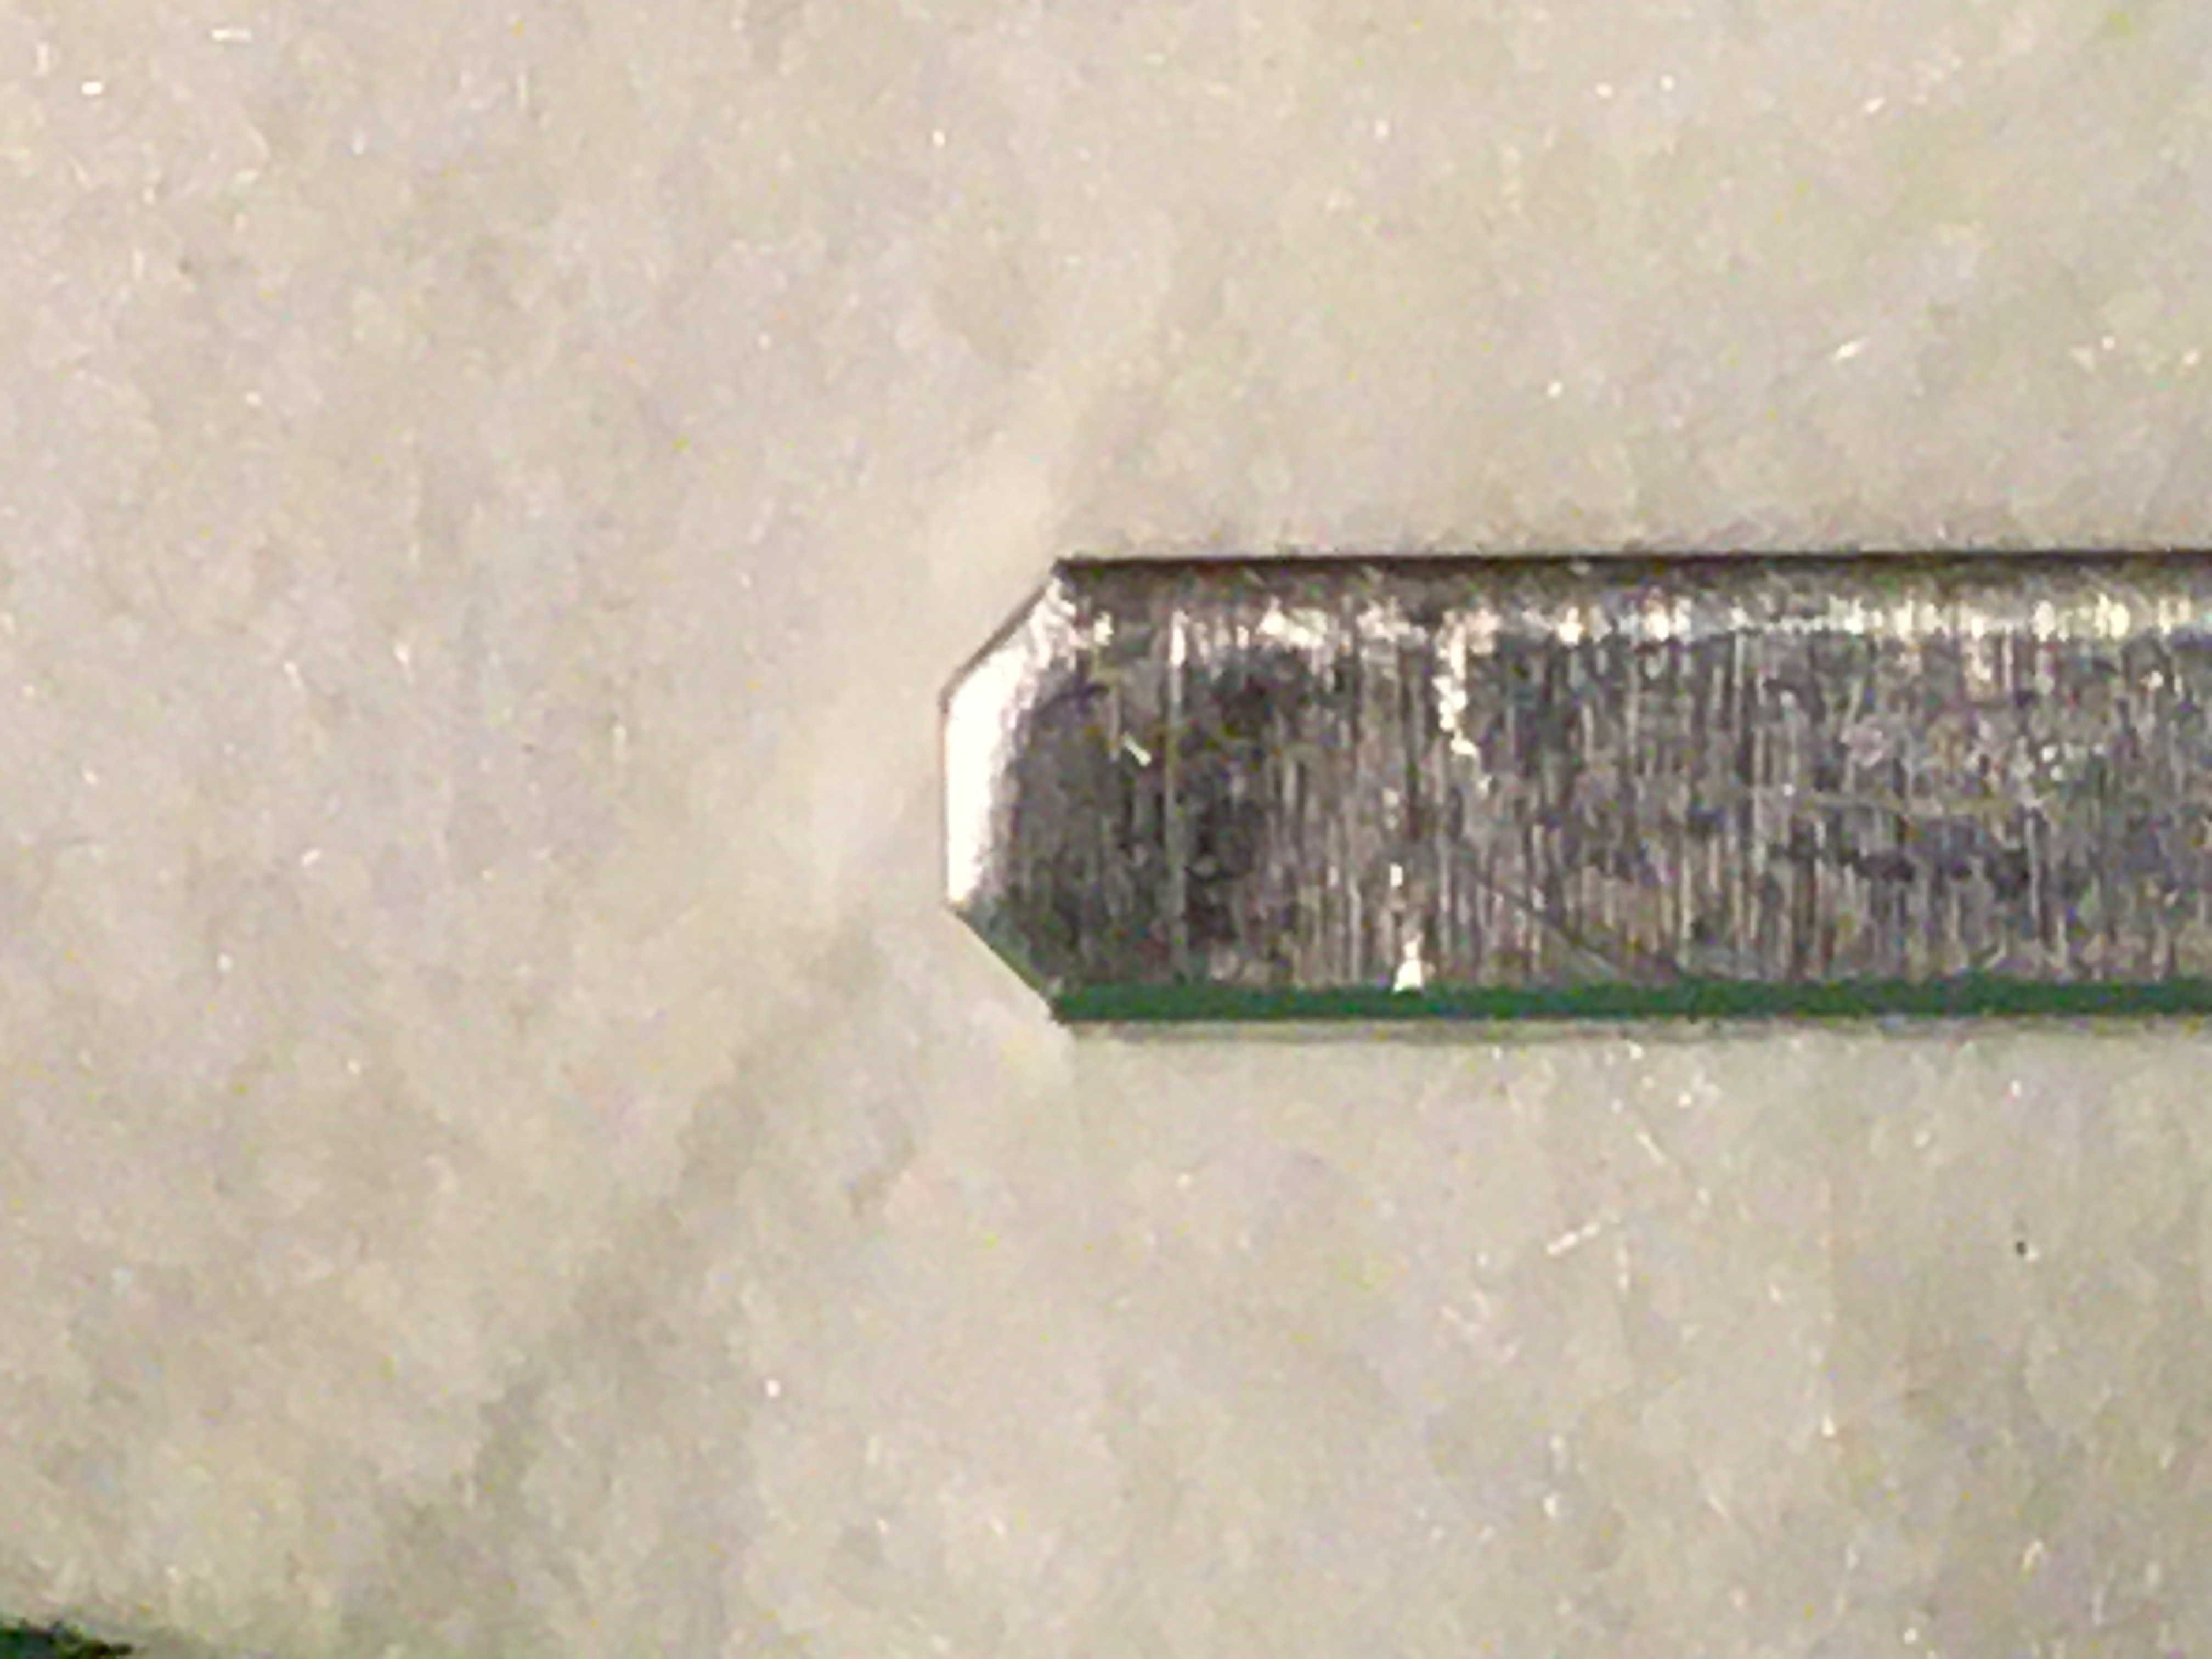
The corners on the ends were chamfered and smoothed a bit.
I first tried making the same size with some 6061 alloy aluminum I had but that was way too stiff and hard to bend.
I did have a sheet of 26 gauge galvanized steel sheet that I have used to patch rust holes in my cars so they would pass inspection and even though this metal ismuch thinner tna the aluminum (about 0.,017” thick) it seems to be roughly equivalent in stiffness to the aluminum strip used on the N95 mask.
I decided to:
- Use the same basic dimensions: 3.5” long and 3/16” wide.
- Round over the four corners.
- Smooth over all the sharp/rough edges created when making the strips.
They look like this now:
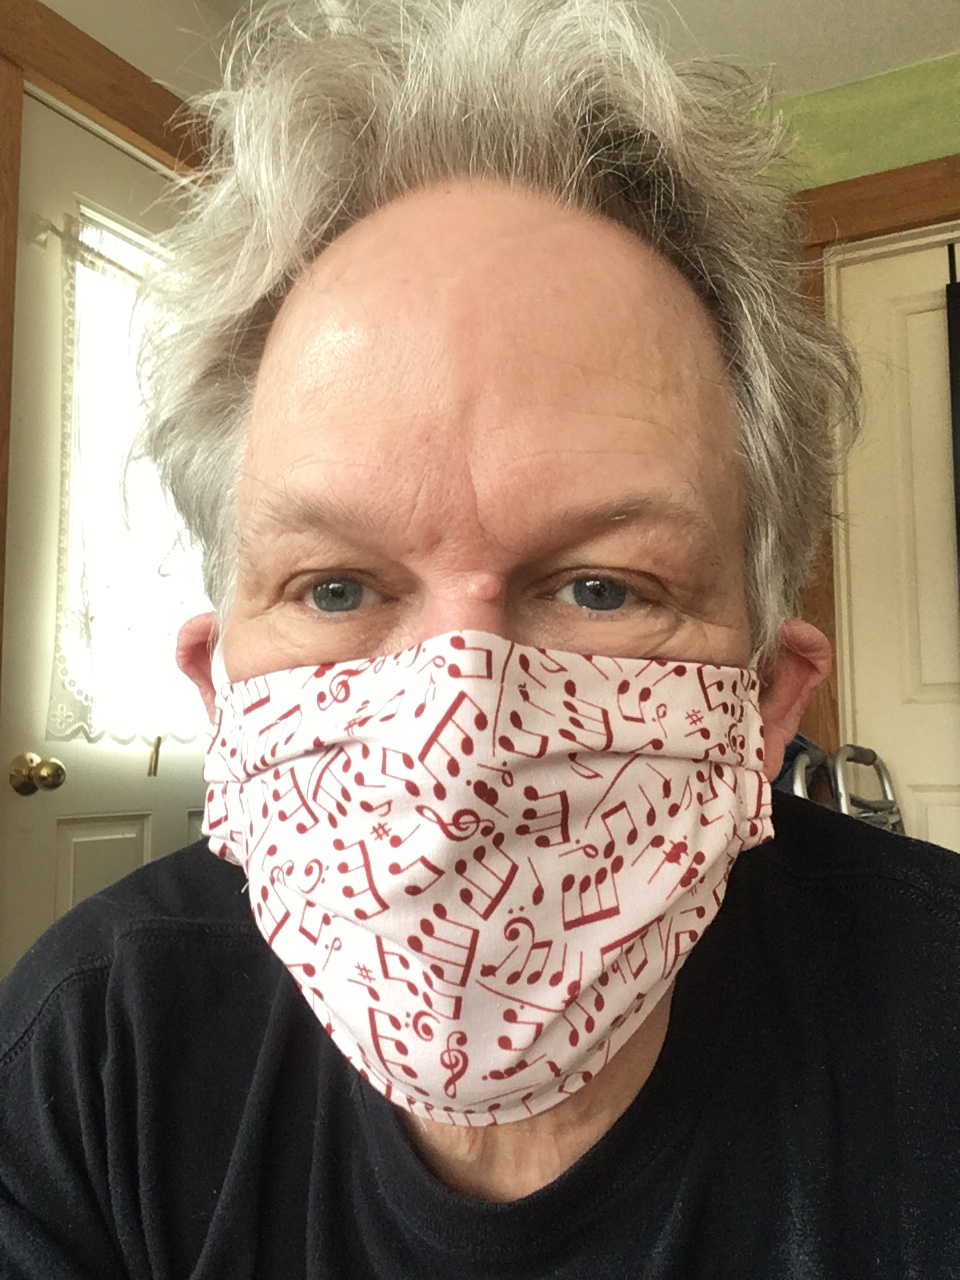
A mask fits and seals much better with a shaped nose strip.
A closeup of the mask shape maintained by the nose strip.

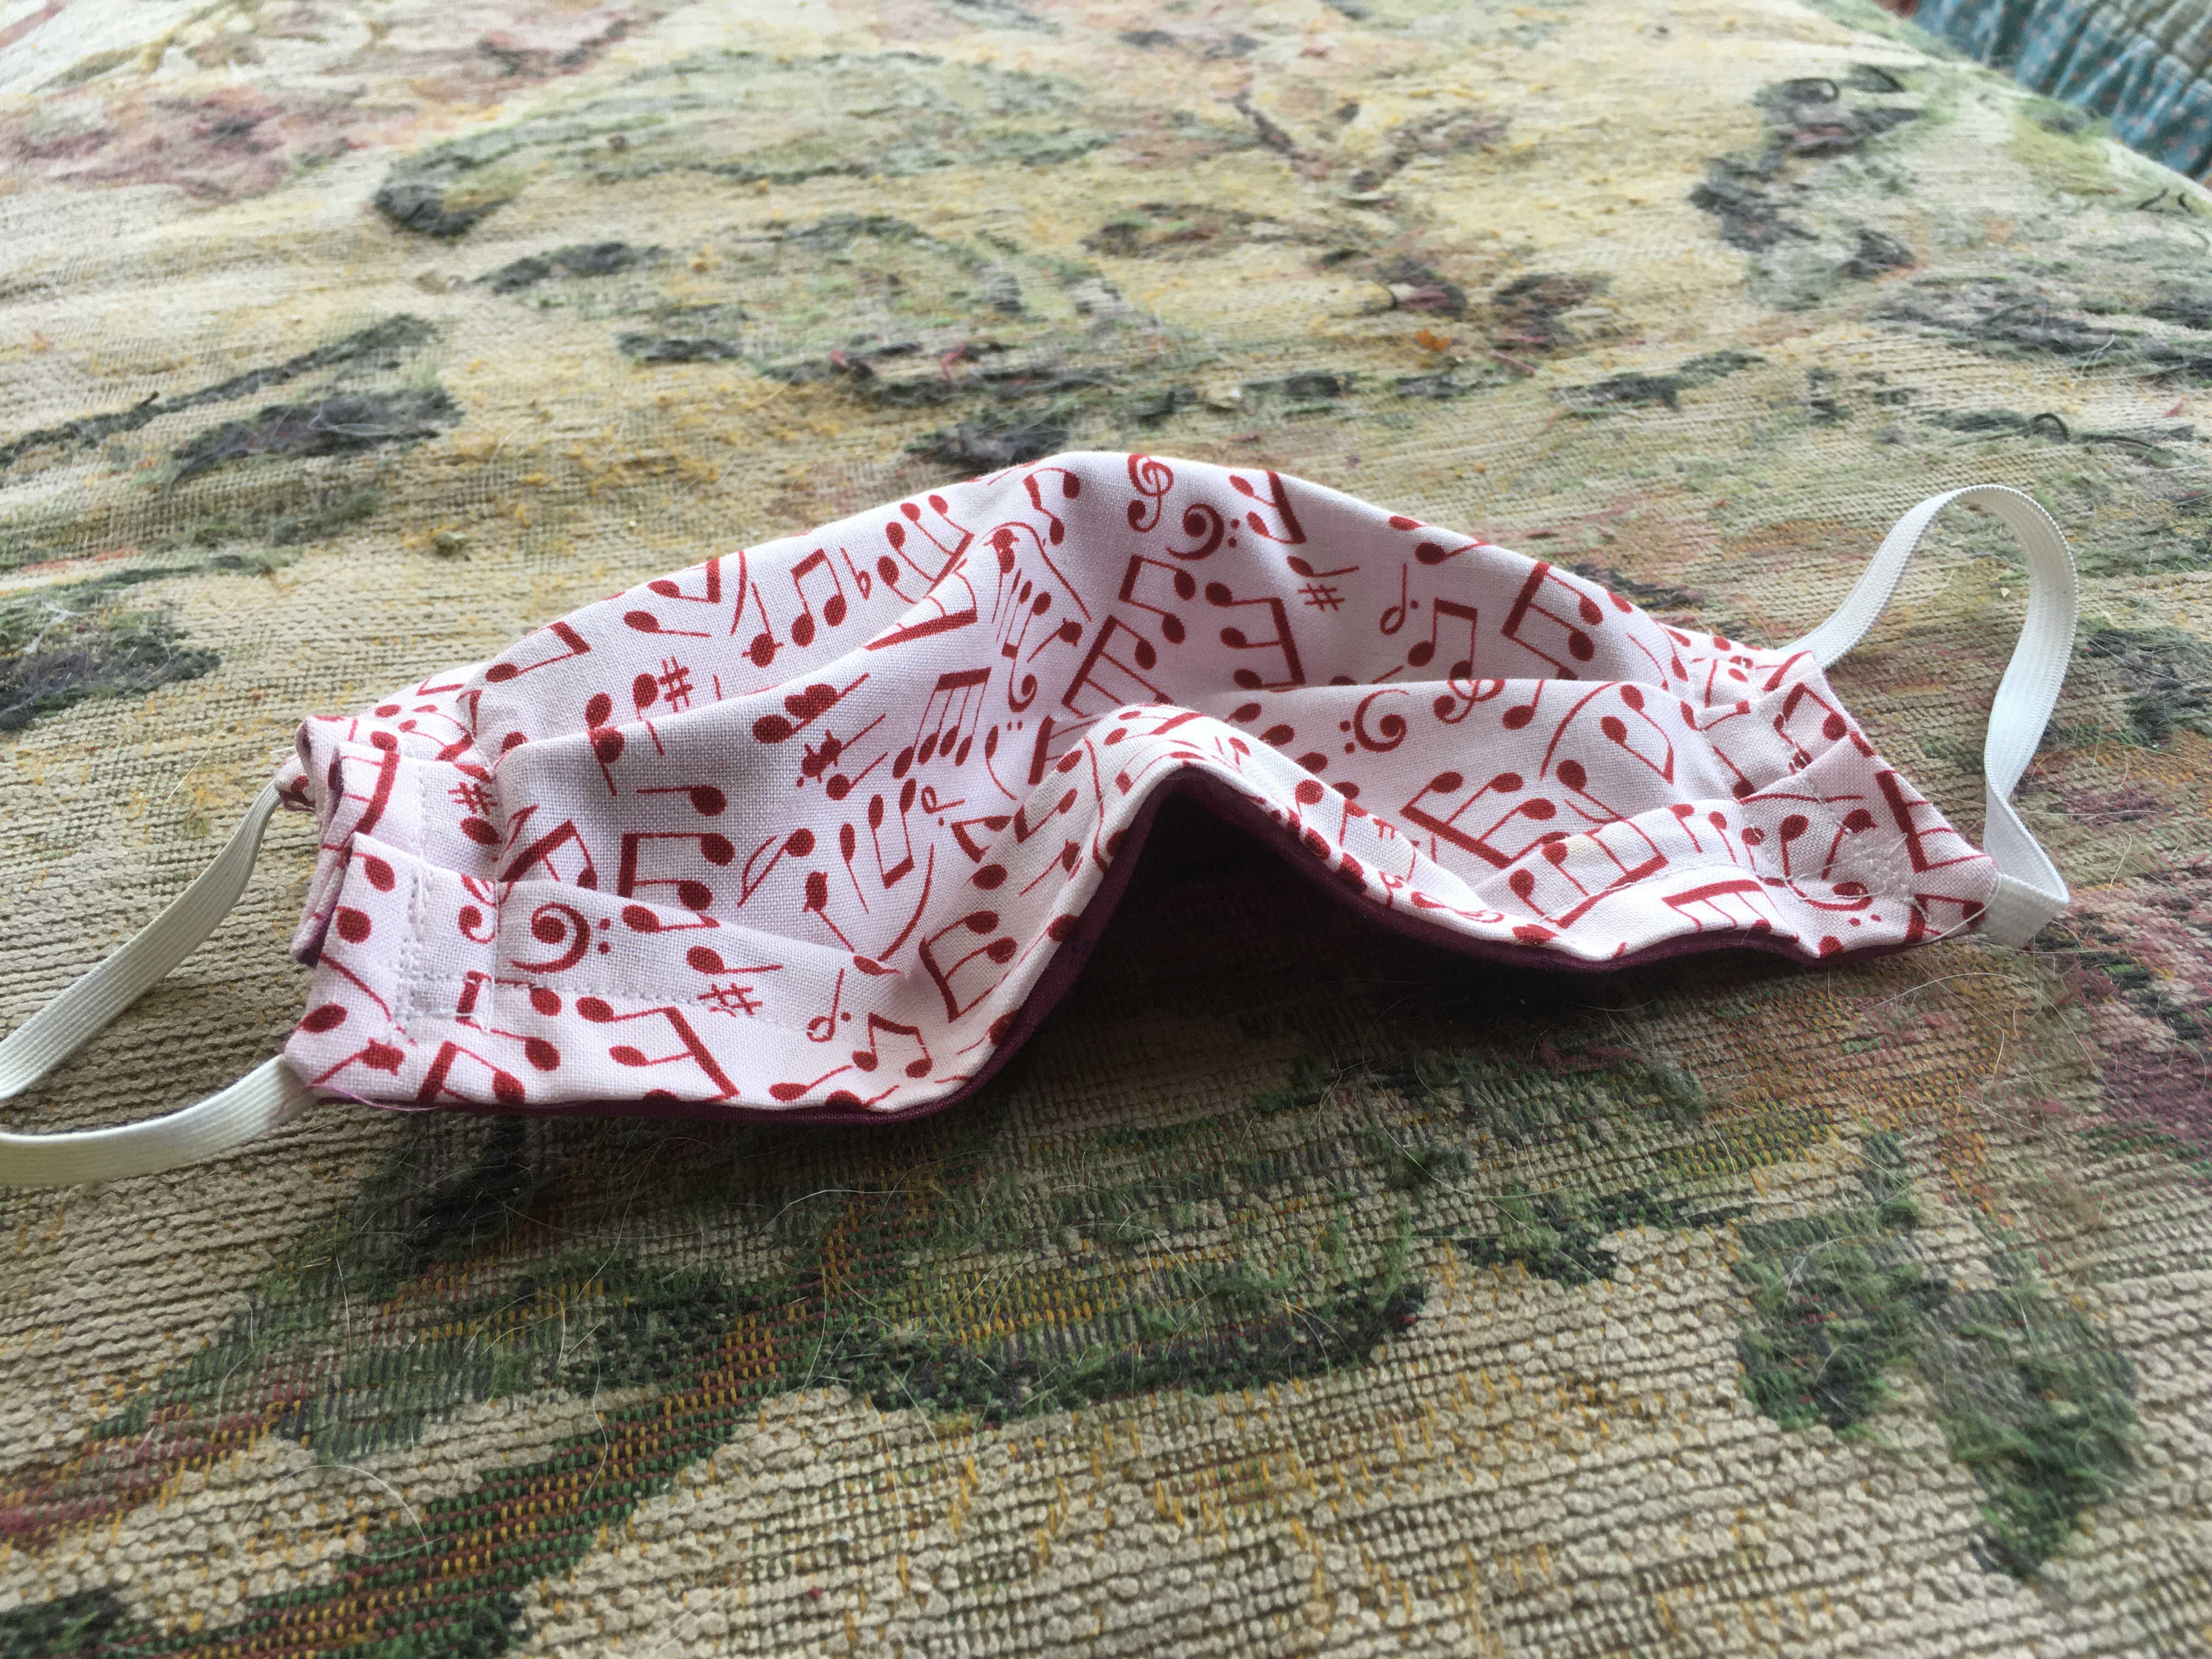
The mask shape is maintained by the nose strip when it isn’t being worn.
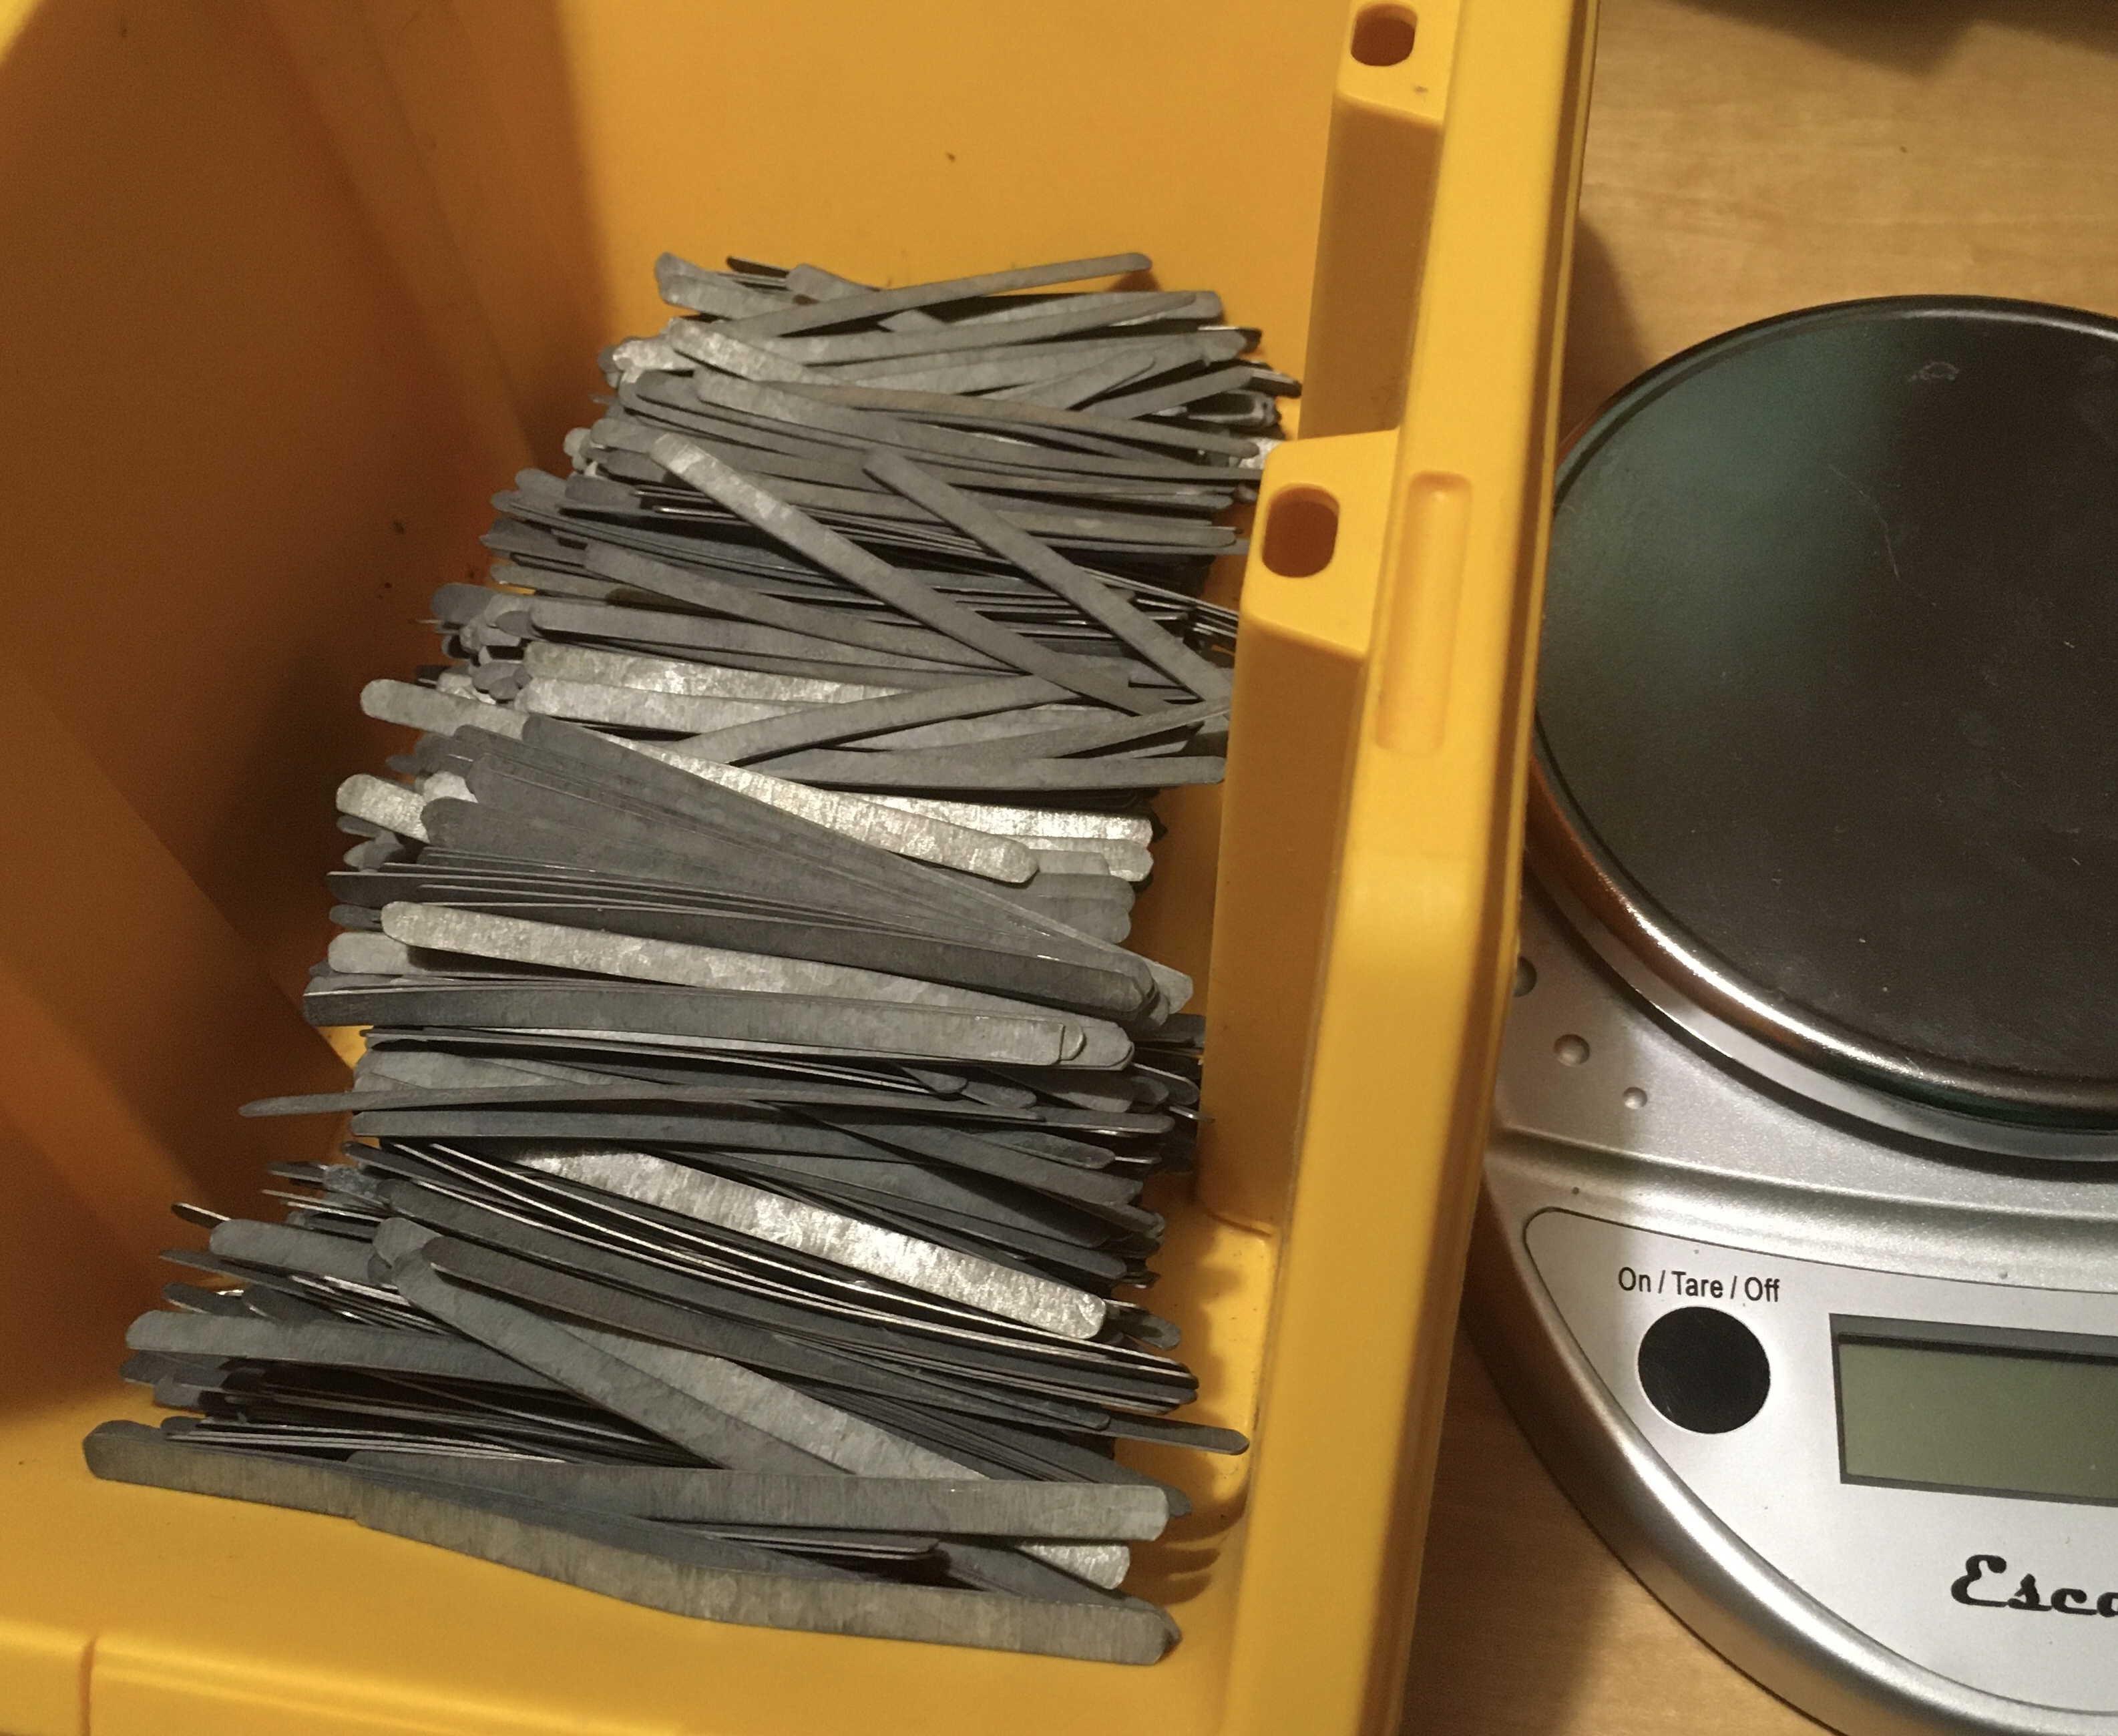
Here’s what 1000 look like!
Making Strips
1. Cut the large sheet of galvanized sheet steel into 3.5 inch wide strips.
Using a larger shear at a friends workshop.
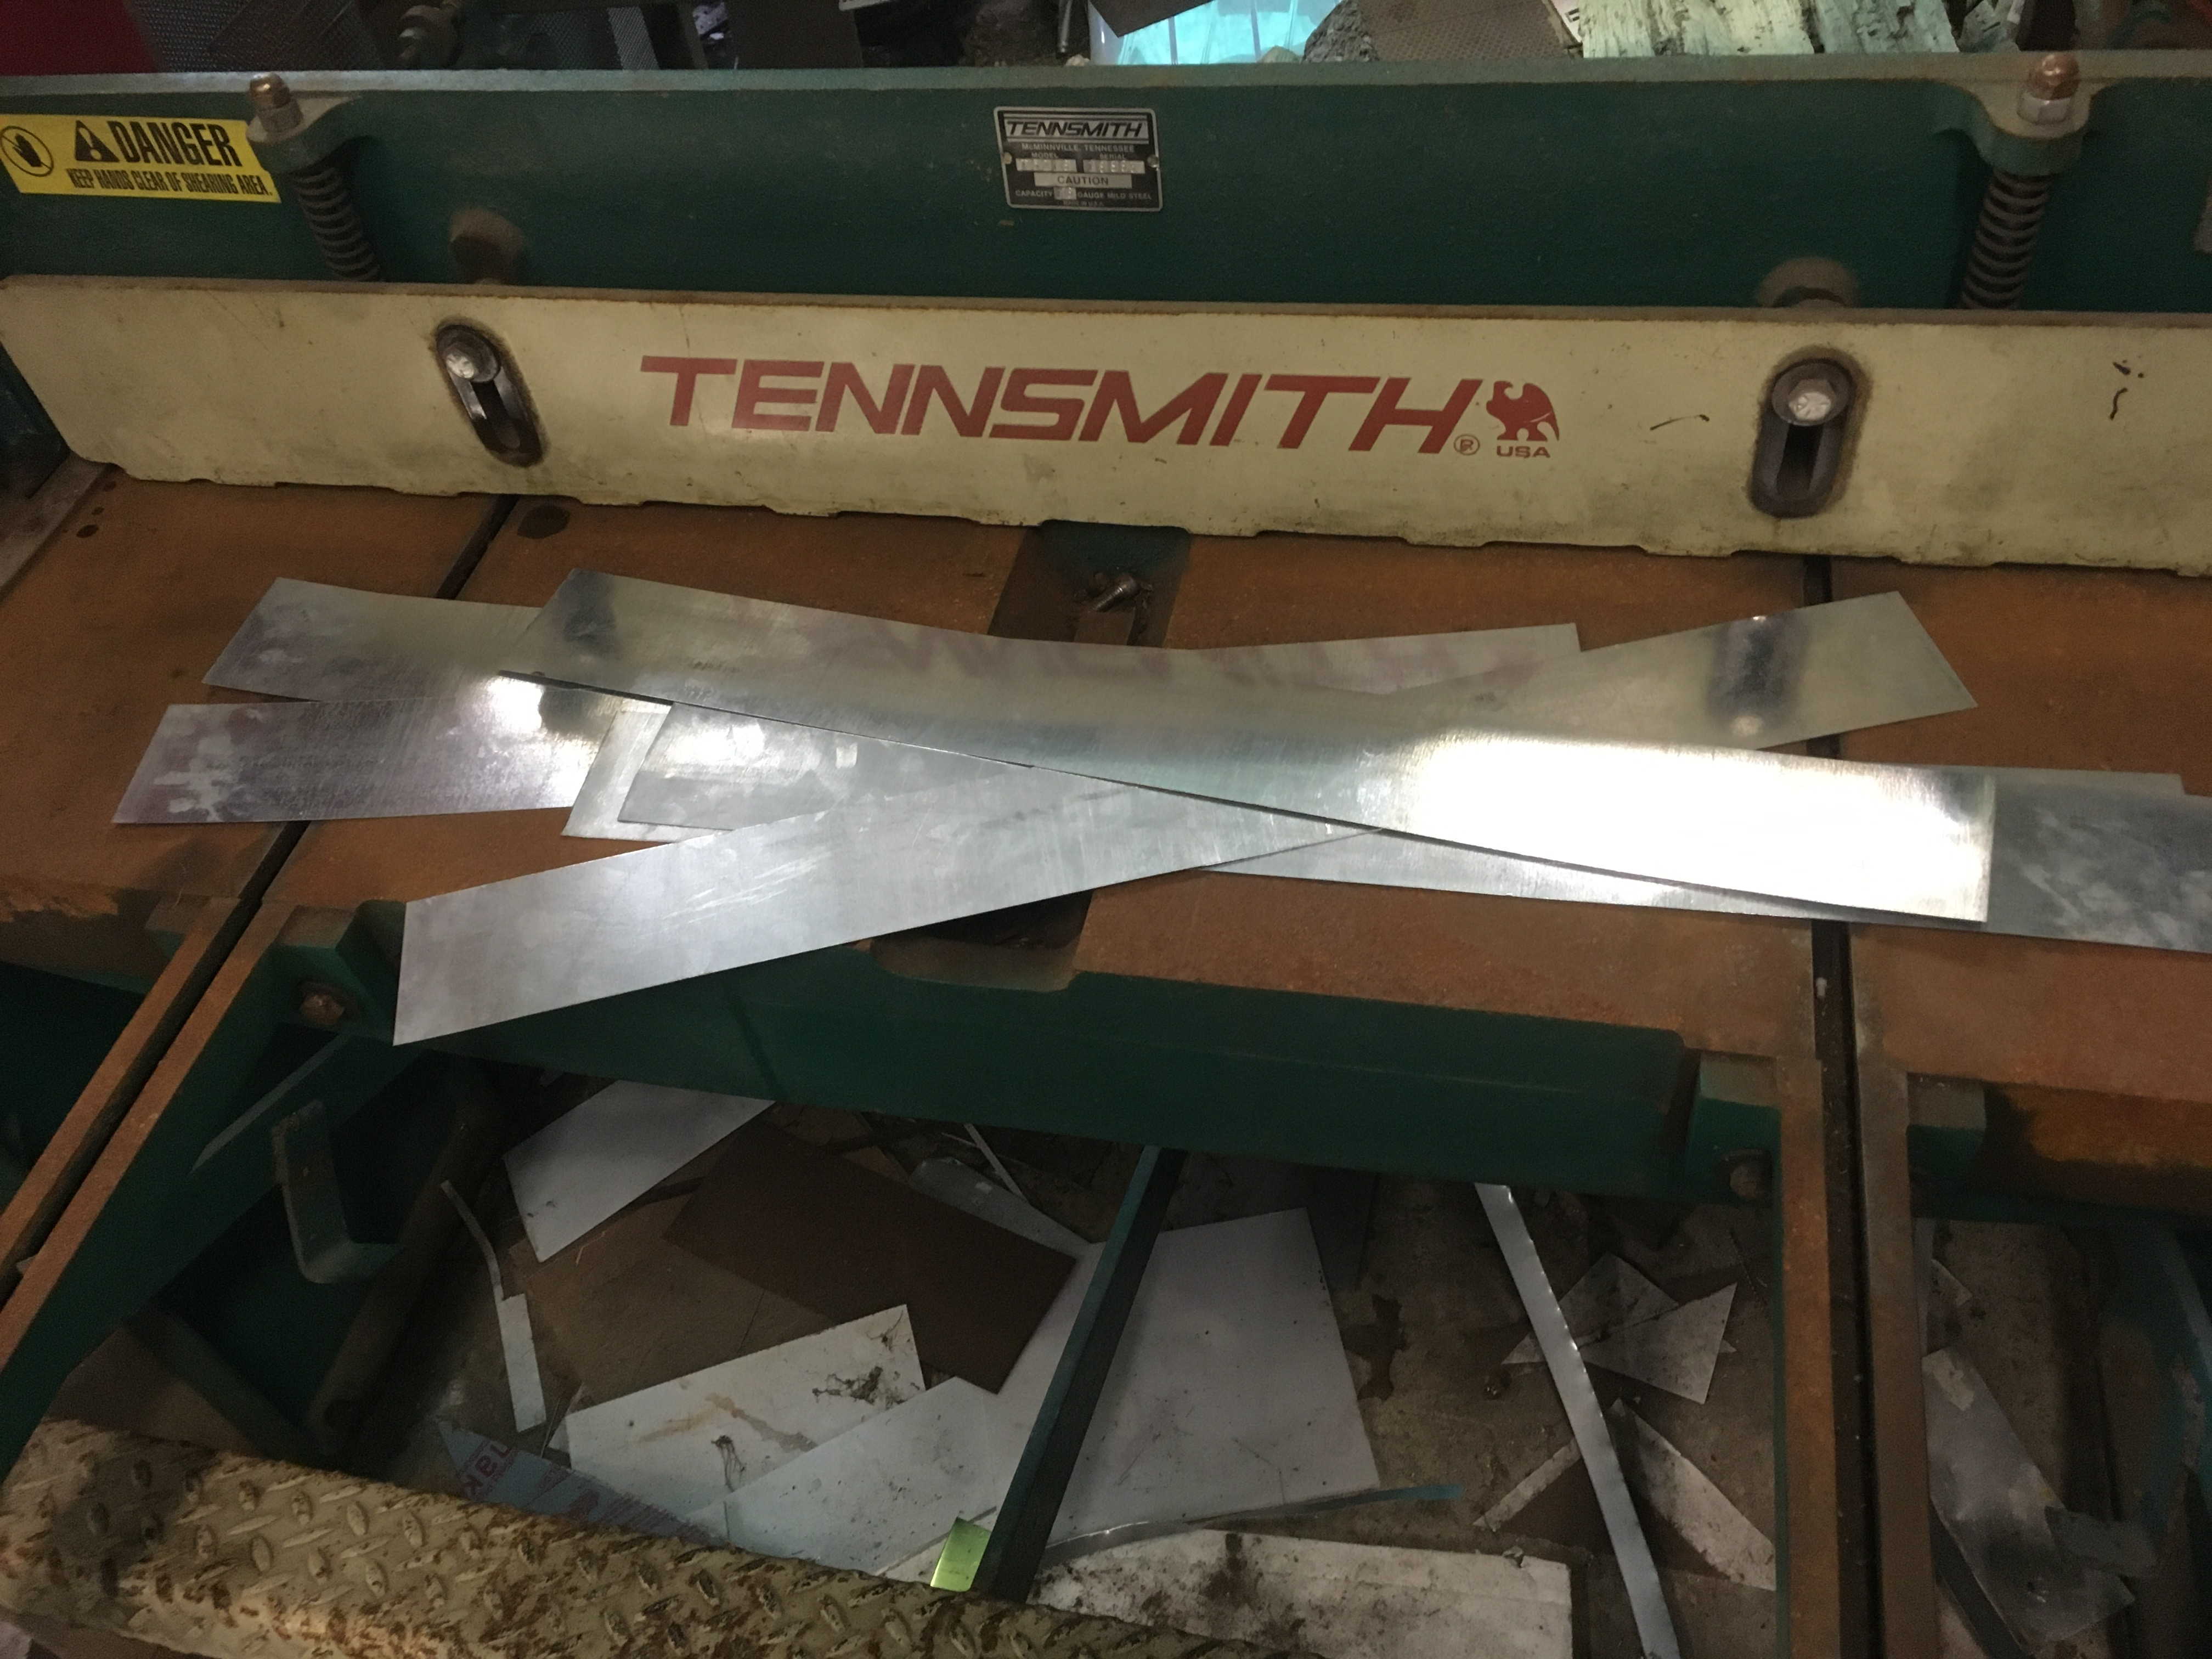
Later The Steel Shed in Bernardston MA used their big shear to cut 26 gauge galvanized steel into 3.5” wide strips.
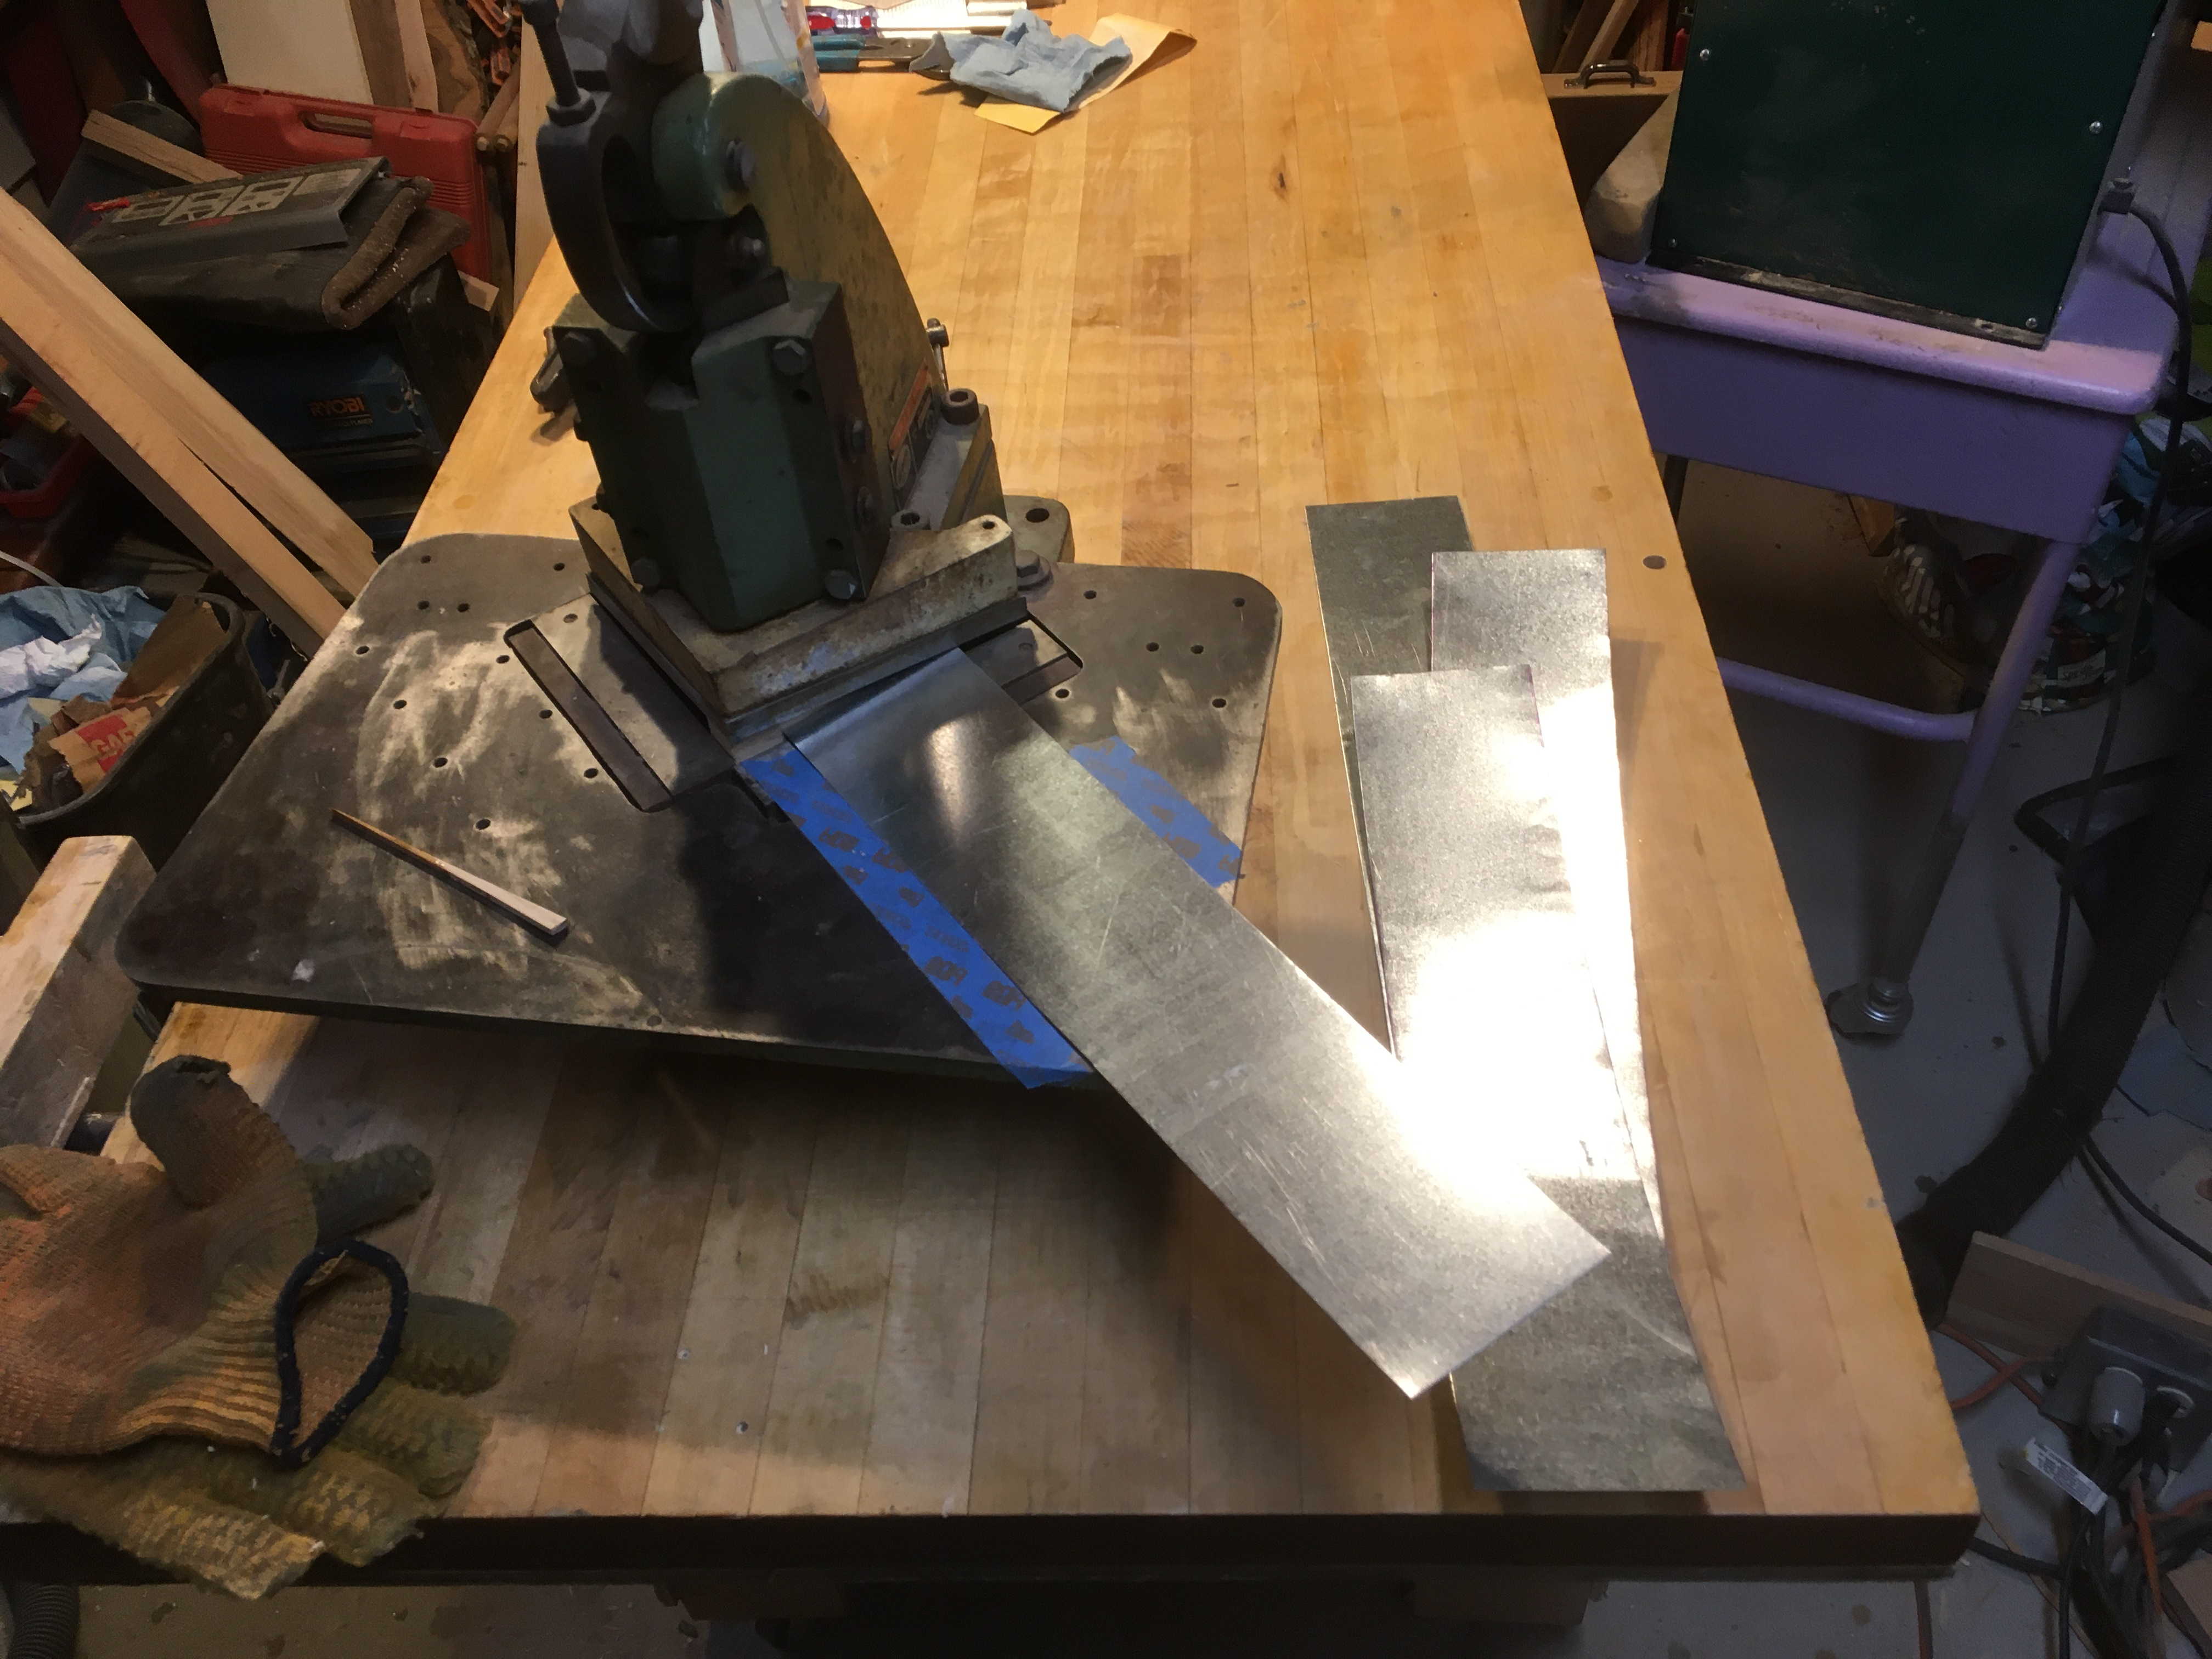
2. Cut 3.5” wide strips into lots of 3/16” wide strips.
I used a small notching shear with a wood stop block glued to the underside of the moving shear surface to quickly cut the 3.5” wide strip into lots of 3/16” wide strips 3.5” long.
Time lapse video of shearing 1800 strips.
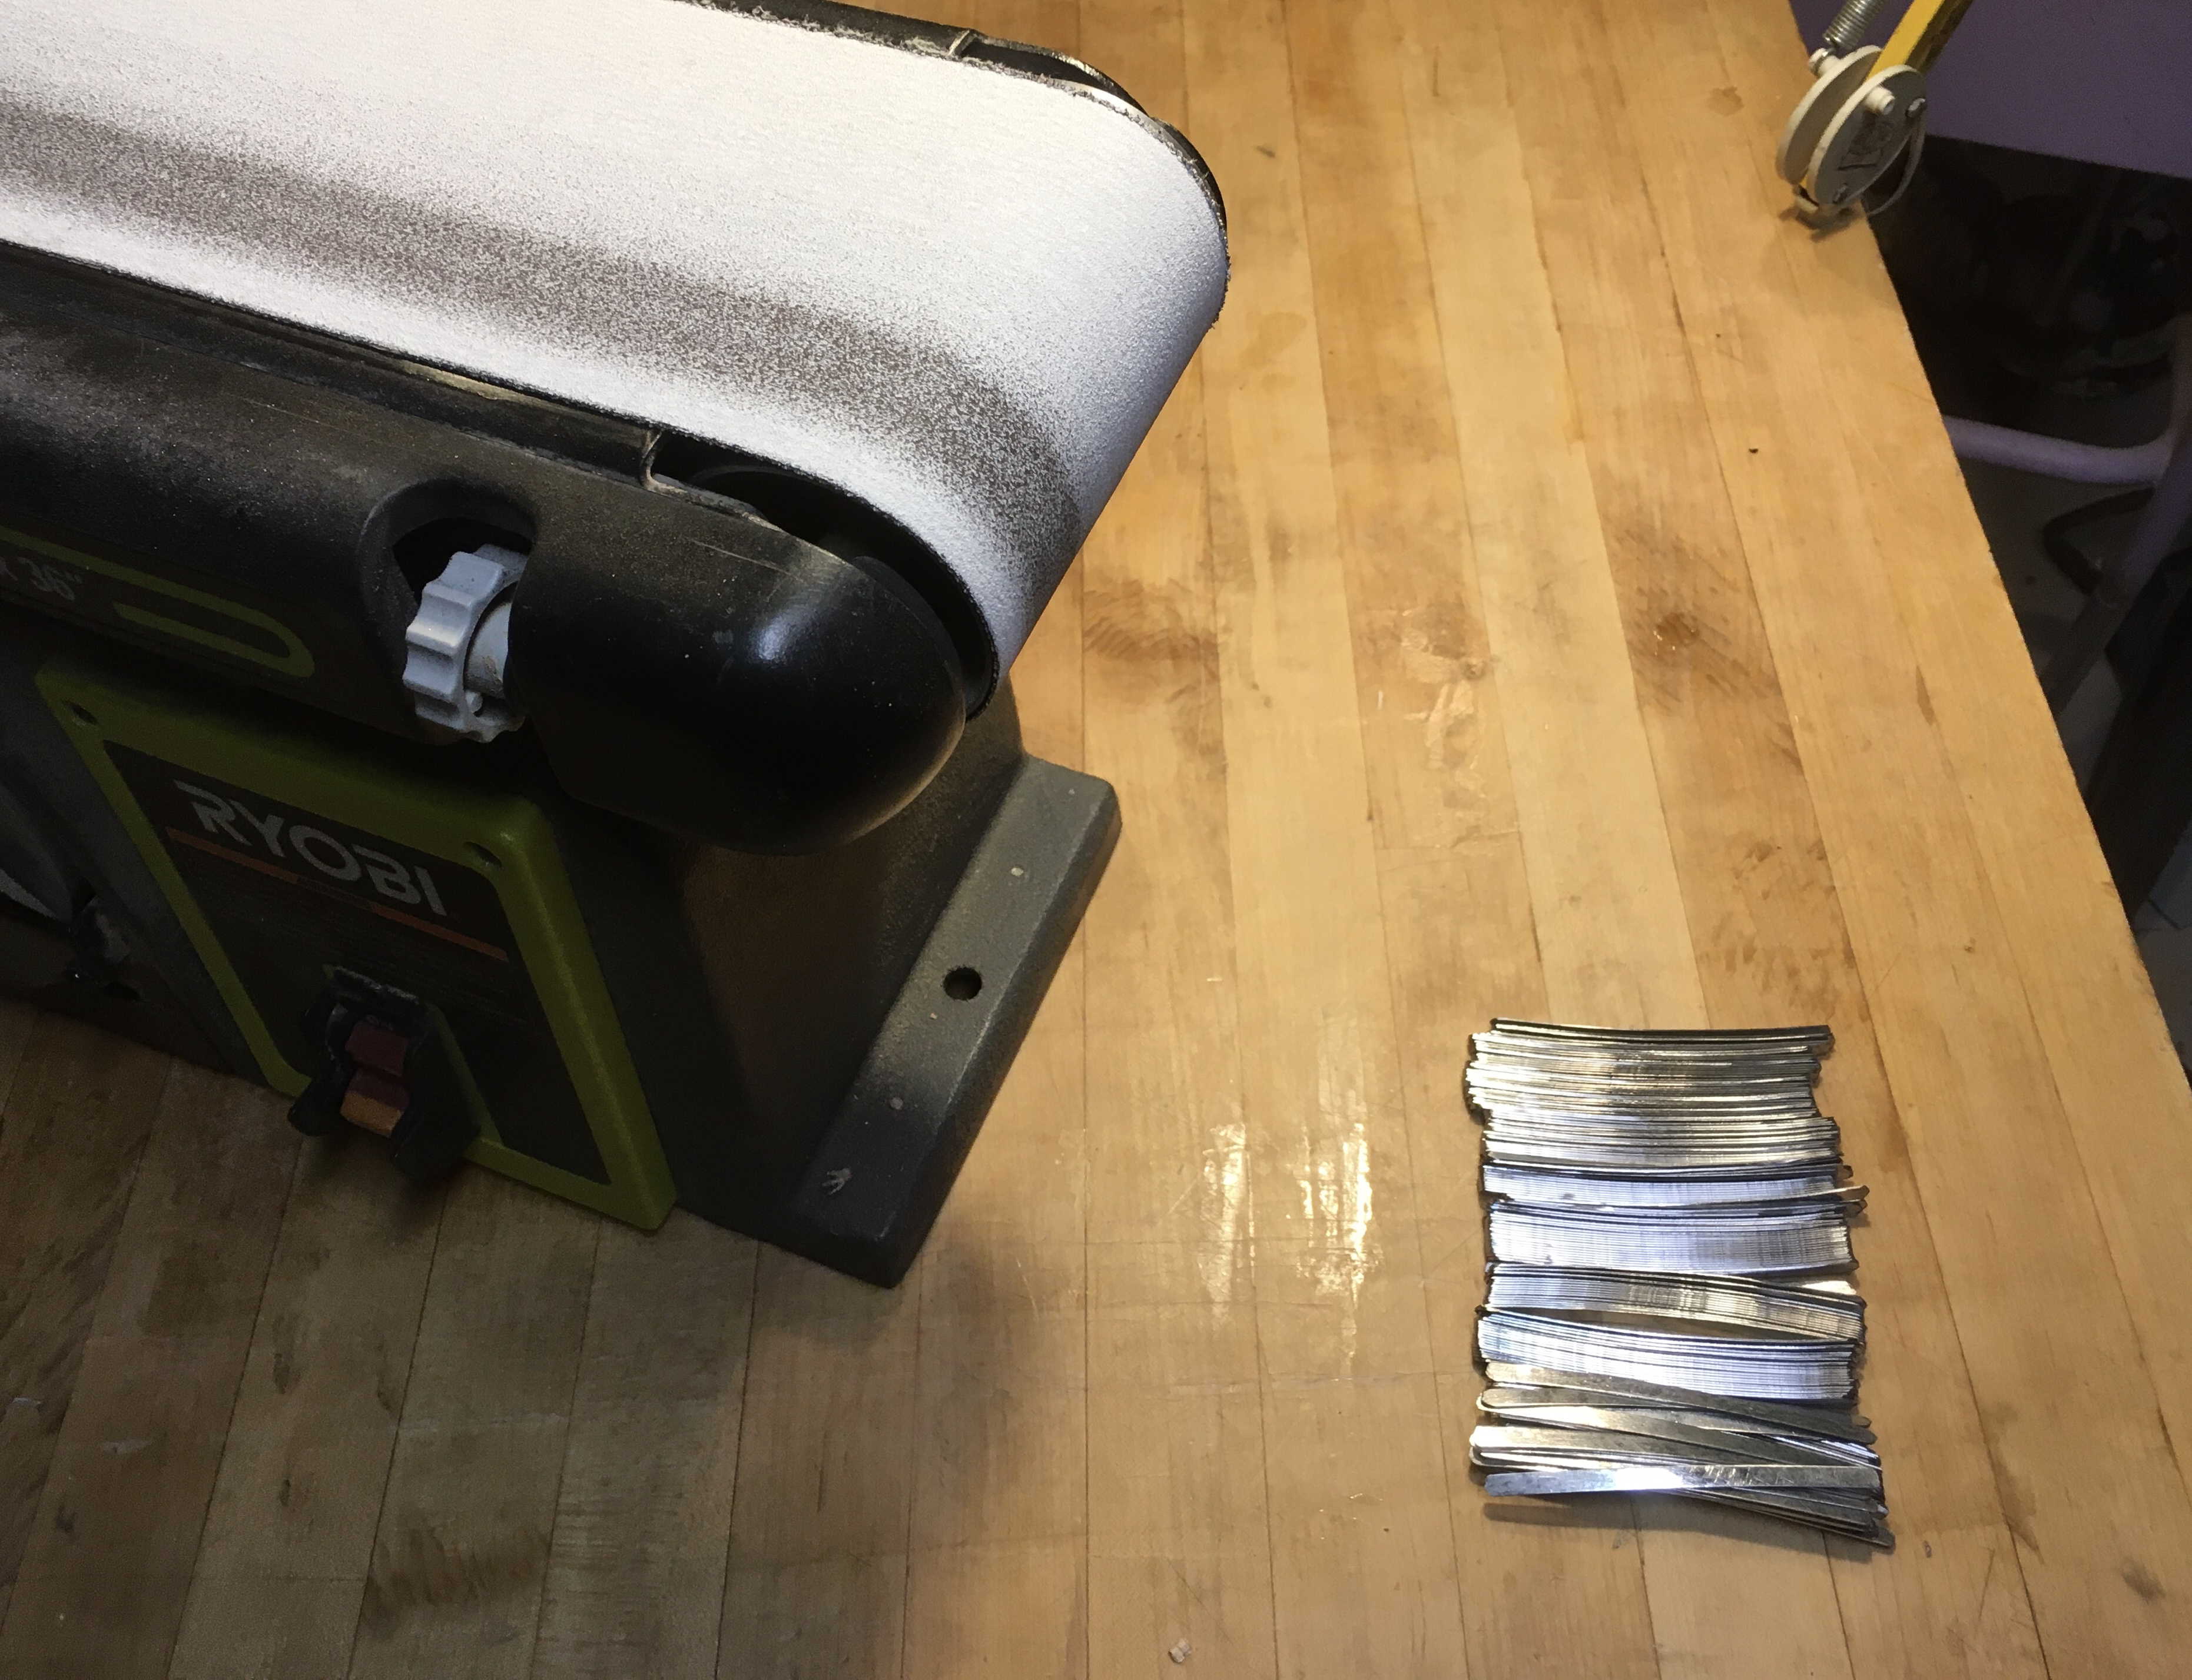
3. Round over all four corners.
After shearing the strips they all have a slight curve.
I line up strips in blocks of about 25 and use a belt sander to round all four corners. This part of the process takes the longest.
4. Deburr and smooth all rough/sharp edges
Putting strips into a vibratory tumbler filled with a ceramic deburring media and running it for 4-8 hourse will smooth over all rough/sharp edges.
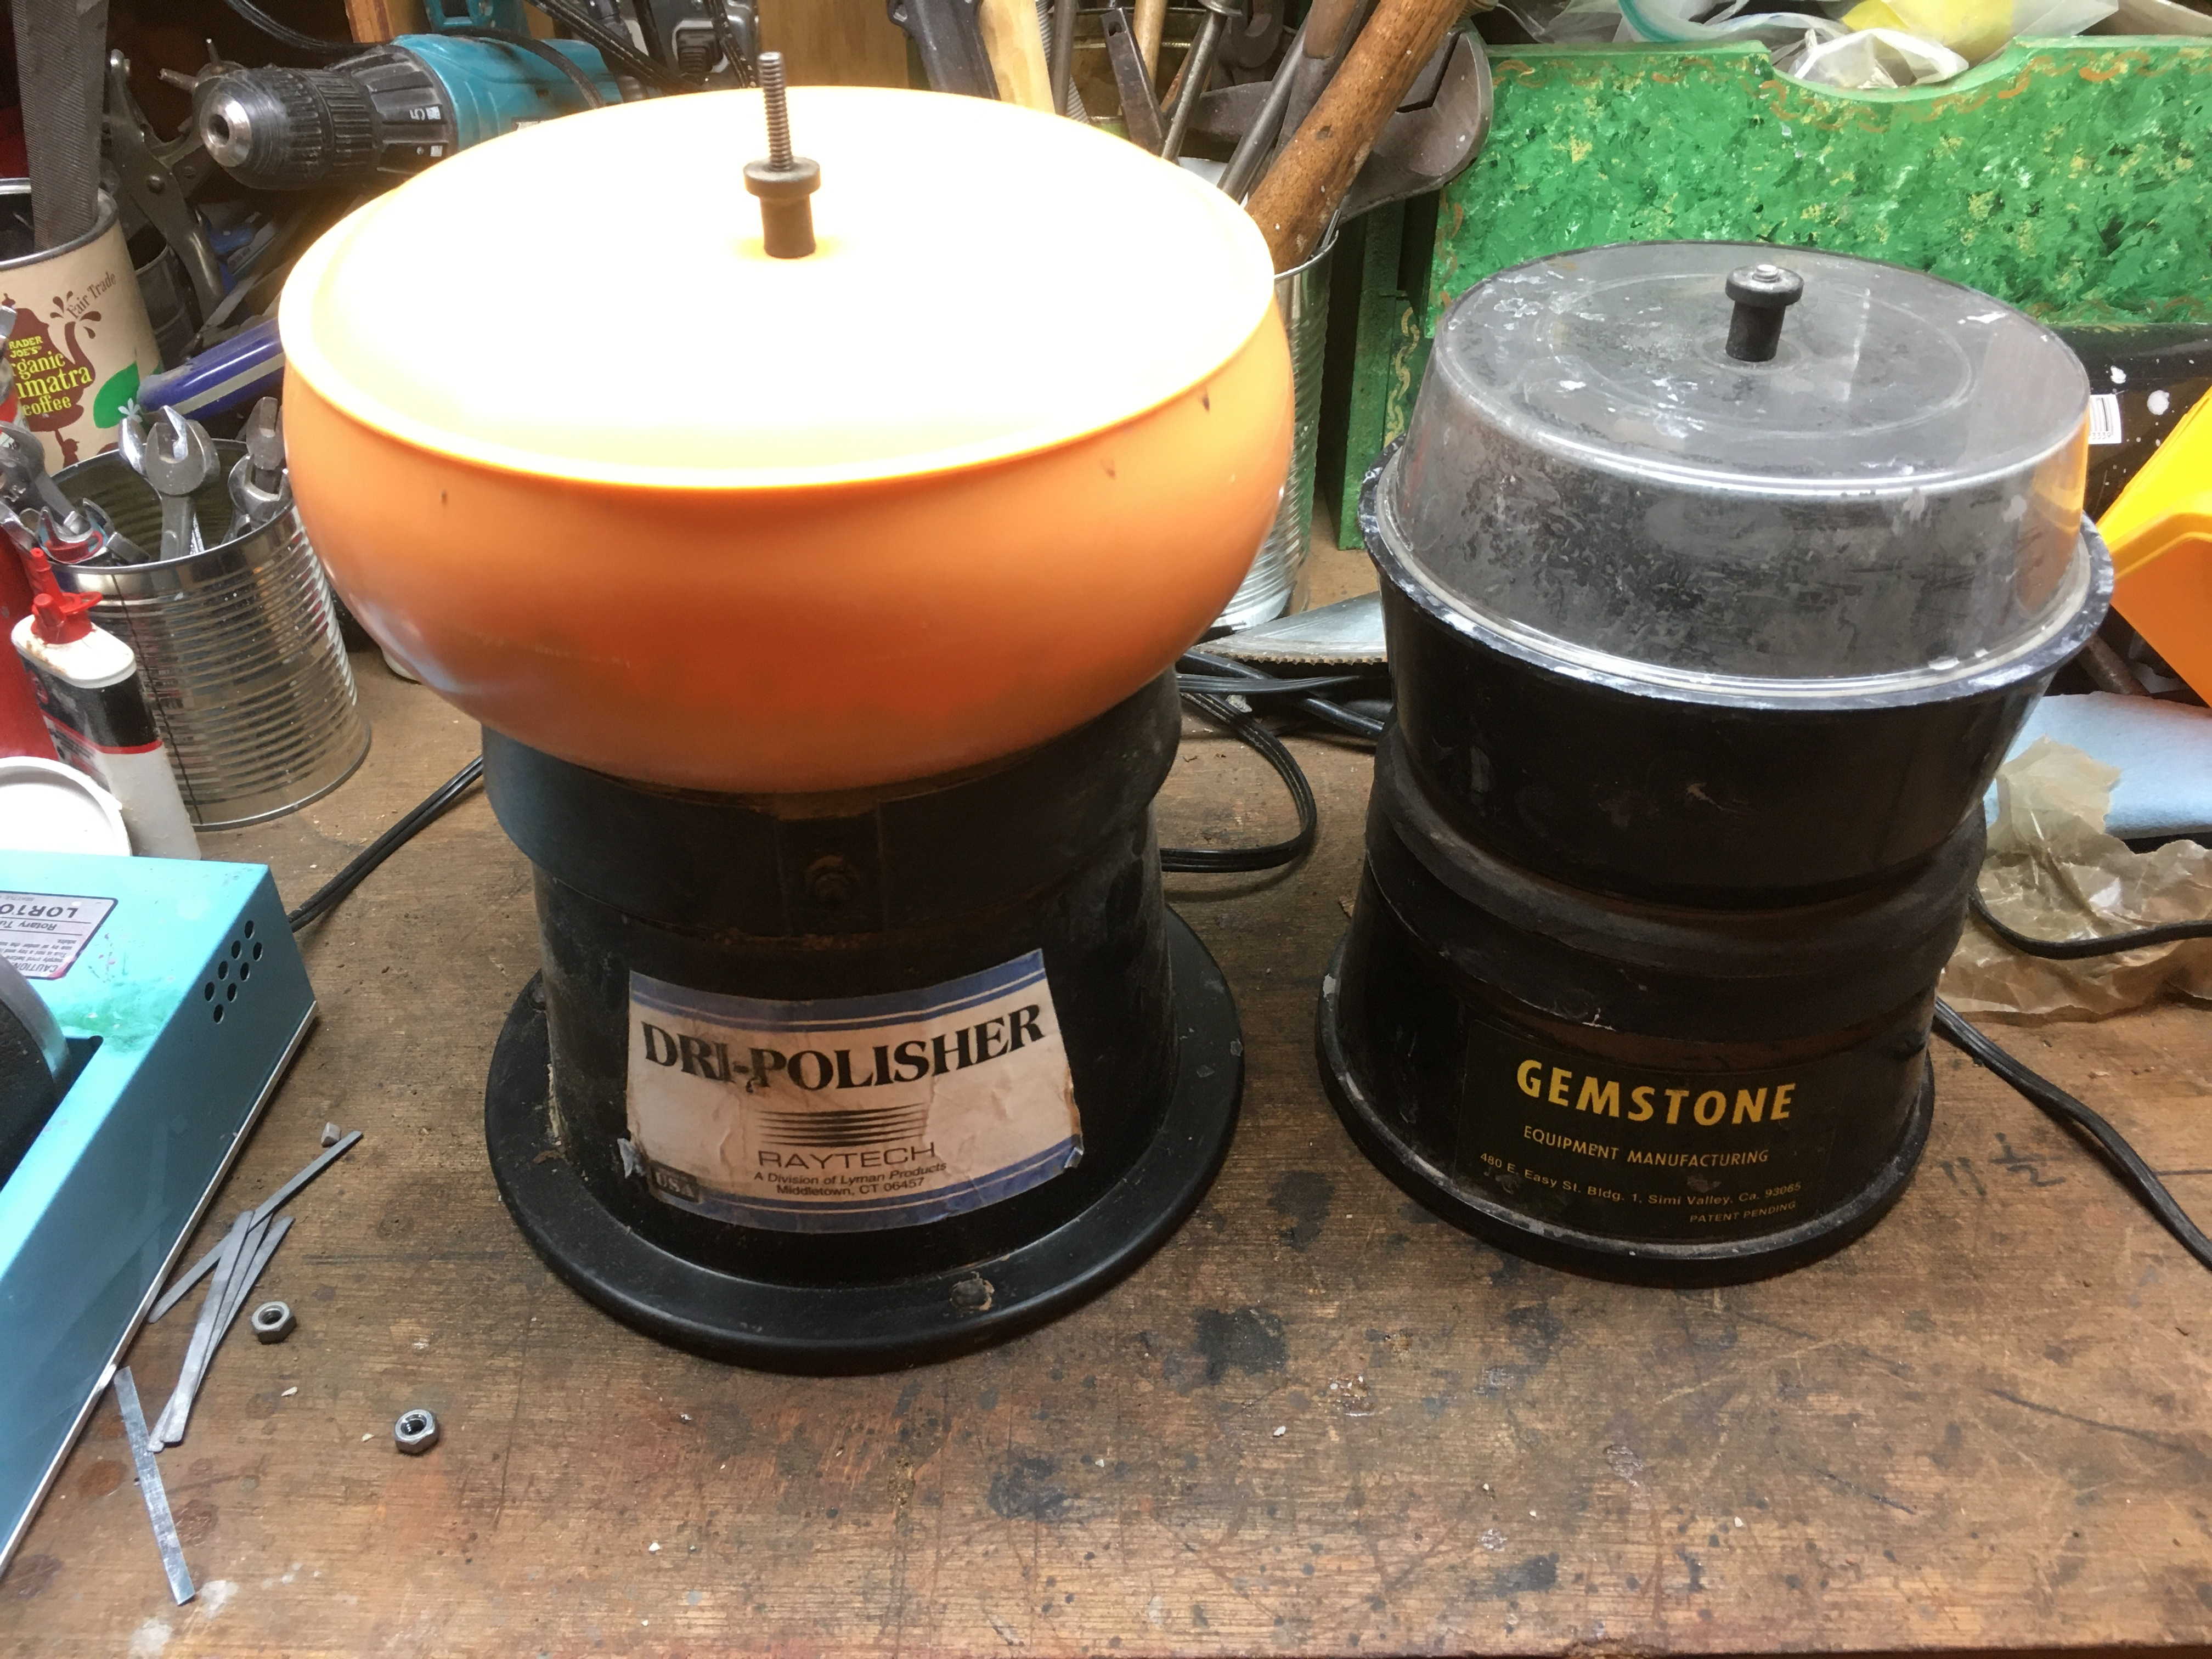
I first used the smaller tumbler on the right which was my dads. I could only process about 150 strips at a time.
A friend lent me the larger tumbler on the left and now I can process 5-600 at a time.
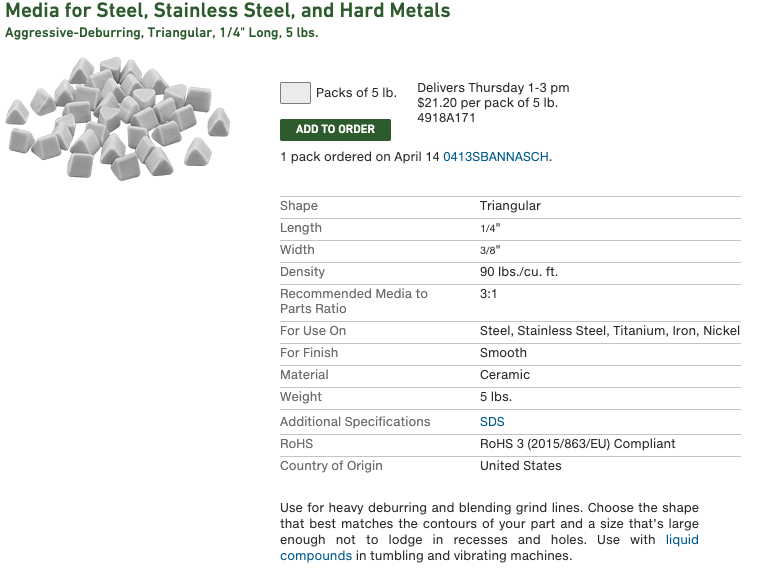
Am using five pounds of the following ceramic deburring material from McMaster-Carr in the larger tumbler.
The vibrating motion of the tumbler causes the strips and ceramic media to continually move around each other. The multitude of tiny bumps end up smoothing all the rough and sharp edges.